- Quiver

Содержание
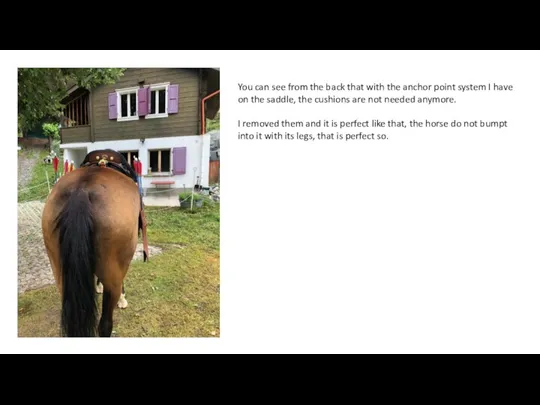
- 2. You can see from the back that with the anchor point system I have on the
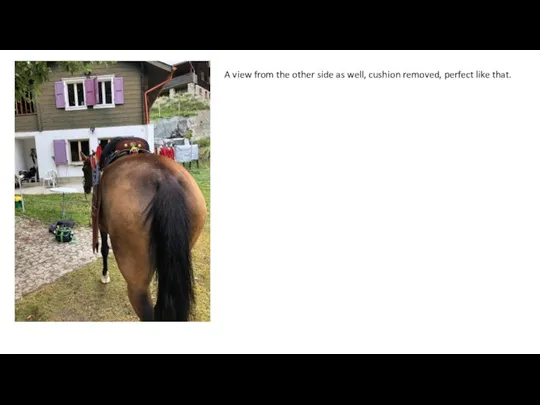
- 3. A view from the other side as well, cushion removed, perfect like that.
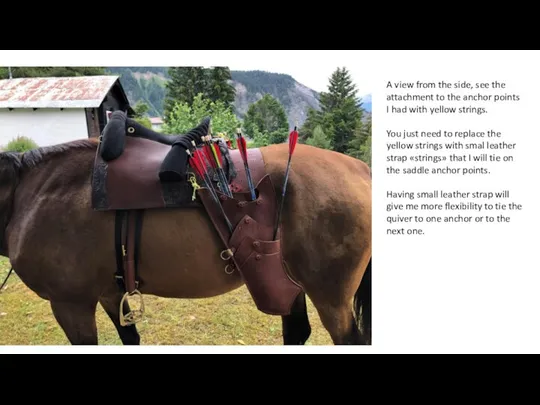
- 4. A view from the side, see the attachment to the anchor points I had with yellow
- 5. You see here the anchor points. I tie the suspension belt always on anchor 1, it
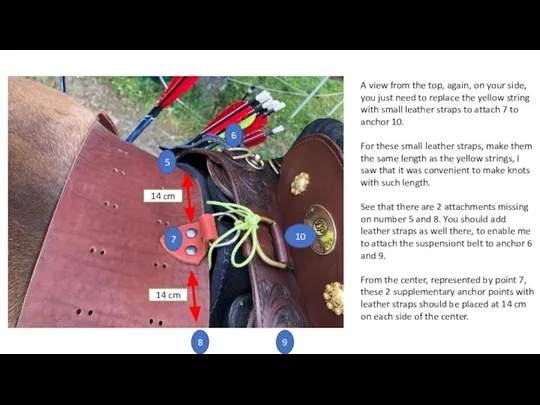
- 6. A view from the top, again, on your side, you just need to replace the yellow
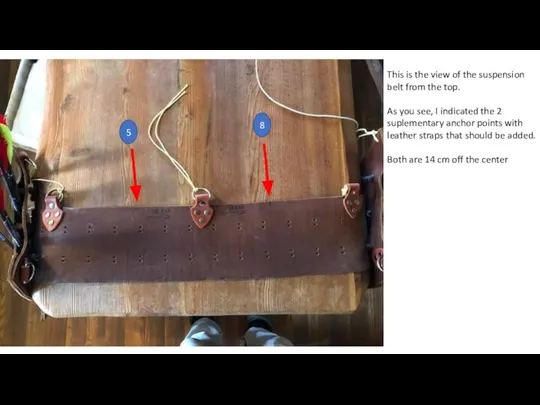
- 7. This is the view of the suspension belt from the top. As you see, I indicated
- 8. Given the fact that the height of the arrow quiver has been set on the prototye,
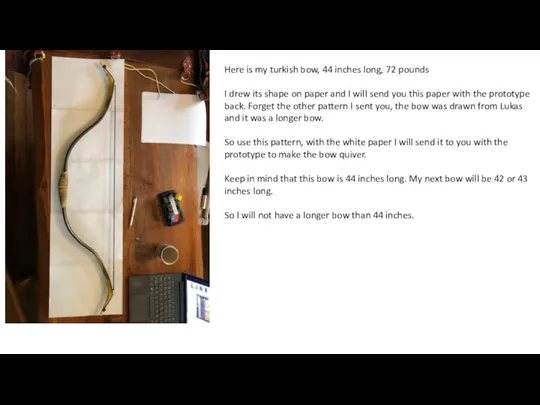
- 9. Here is my turkish bow, 44 inches long, 72 pounds I drew its shape on paper
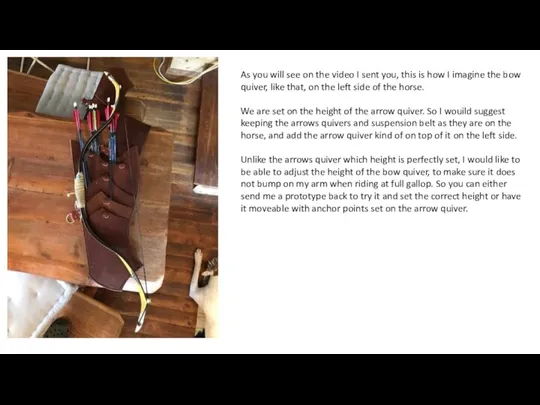
- 10. As you will see on the video I sent you, this is how I imagine the
- 11. Here you see the color of the saddle with your MAH sample on the side and
- 13. Скачать презентацию
Слайд 3A view from the other side as well, cushion removed, perfect like
A view from the other side as well, cushion removed, perfect like
Слайд 4A view from the side, see the attachment to the anchor points
A view from the side, see the attachment to the anchor points
Слайд 5You see here the anchor points.
I tie the suspension belt always on
You see here the anchor points.
I tie the suspension belt always on

Слайд 6A view from the top, again, on your side, you just need
A view from the top, again, on your side, you just need
Слайд 7This is the view of the suspension belt from the top.
As
This is the view of the suspension belt from the top.
As
Слайд 8Given the fact that the height of the arrow quiver has been
Given the fact that the height of the arrow quiver has been

Слайд 9Here is my turkish bow, 44 inches long, 72 pounds
I drew its
Here is my turkish bow, 44 inches long, 72 pounds
I drew its
Слайд 10As you will see on the video I sent you, this is
As you will see on the video I sent you, this is
Слайд 11Here you see the color of the saddle with your MAH sample
Here you see the color of the saddle with your MAH sample

 Elizabeth Alexandra Mary
 Addition - subtraction 1-20
 Talk for a minute
 Мастер-класс на тему: Всё успевает занятой человек
 Let’s revise the topic Vocabulary
 Who wants to be a millionaire
 Sport and hls. Lesson 1
 Теория закономерных соответствий Я.И. Рецкера
 What's the brightest thing
 Арслан занятие 1
 Summer is coming. Game
 Play and learn
 School from the future
 Презентация на тему CHRISTMAS TRADITIONS IN GREAT BRITAIN
  Жиілік үстеулер
 3 класс глагол быть
 Past simple
 Fast food wheel
 The Christmas Alphabet
 English is fun
 Personal questions
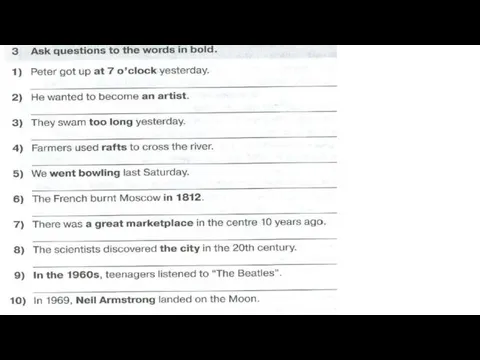 Ask questions to the words in bold
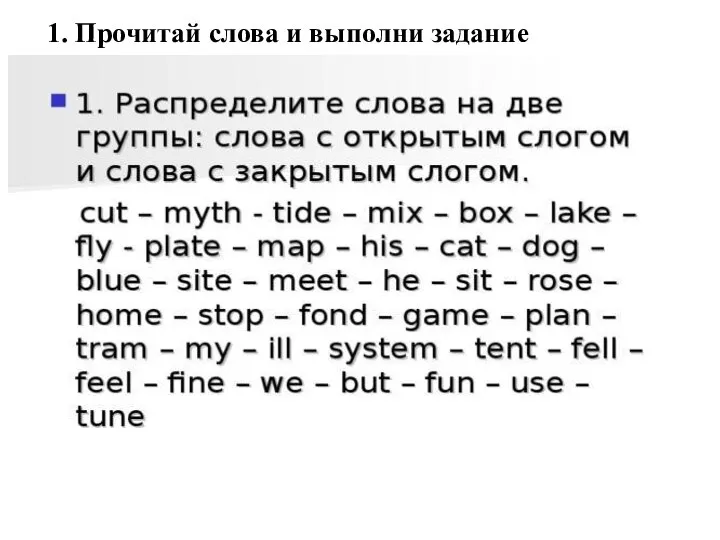 Прочитай слова и выполни задание
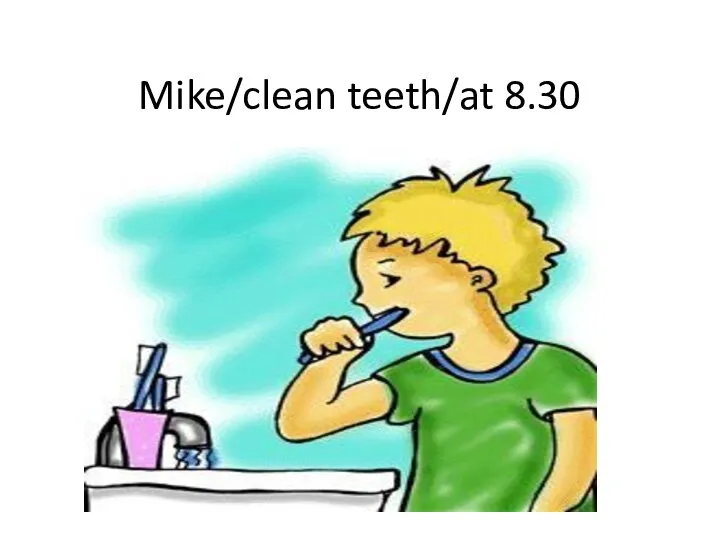 Past cont. Mike
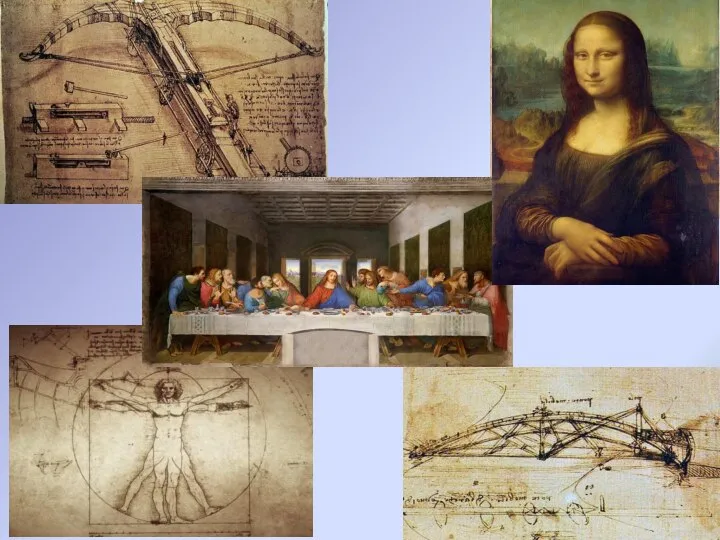 Leonardo da Vinci (1452 - 1519)
 The interview. USA consulate and embassy
 Get culture
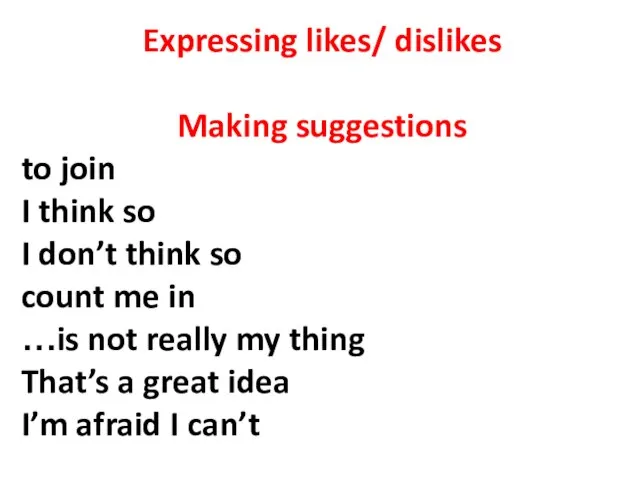 Expressing likes/ dislikes. Making suggestions