- Rock Material - tips

Содержание
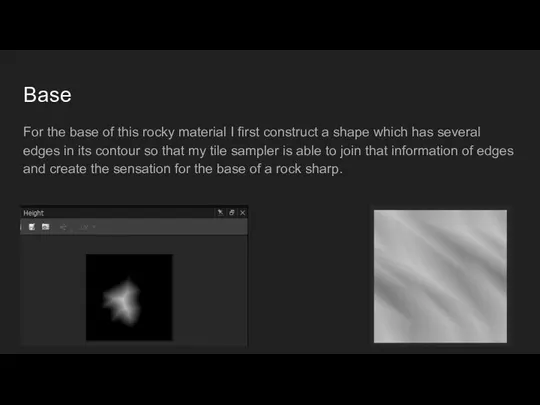
- 2. Base For the base of this rocky material I first construct a shape which has several
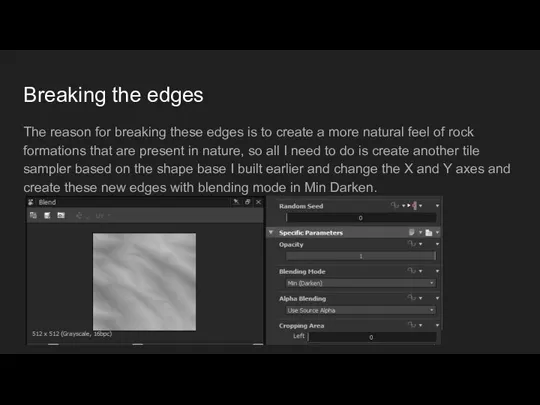
- 3. Breaking the edges The reason for breaking these edges is to create a more natural feel
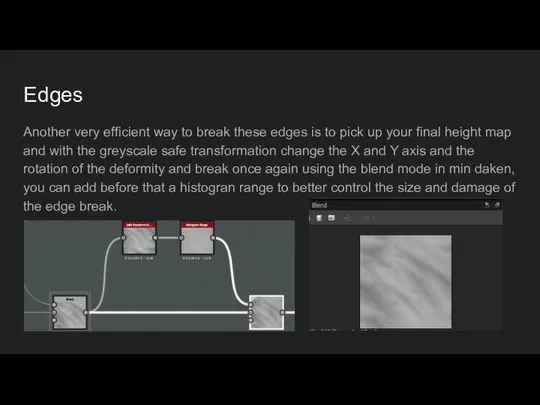
- 4. Edges Another very efficient way to break these edges is to pick up your final height
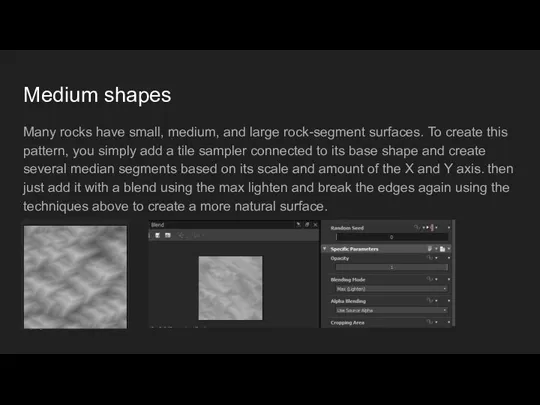
- 5. Medium shapes Many rocks have small, medium, and large rock-segment surfaces. To create this pattern, you
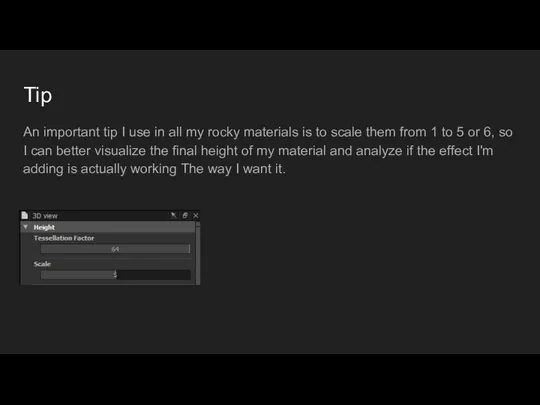
- 6. Tip An important tip I use in all my rocky materials is to scale them from
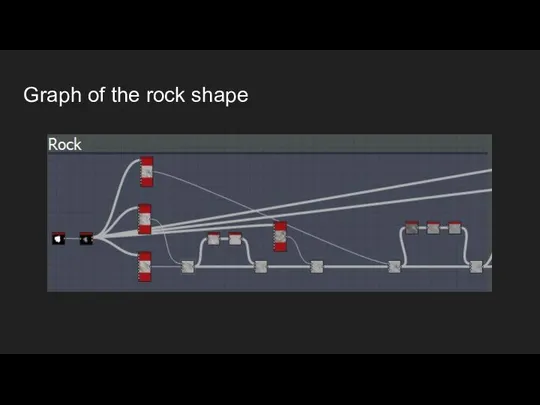
- 7. Graph of the rock shape
- 9. Скачать презентацию
Слайд 3Breaking the edges
The reason for breaking these edges is to create a
Breaking the edges
The reason for breaking these edges is to create a
Слайд 4Edges
Another very efficient way to break these edges is to pick up
Edges
Another very efficient way to break these edges is to pick up
Слайд 5Medium shapes
Many rocks have small, medium, and large rock-segment surfaces. To create
Medium shapes
Many rocks have small, medium, and large rock-segment surfaces. To create
Слайд 6Tip
An important tip I use in all my rocky materials is to
Tip
An important tip I use in all my rocky materials is to
Слайд 7Graph of the rock shape
Graph of the rock shape
 Drinks
 Unit 7 translation
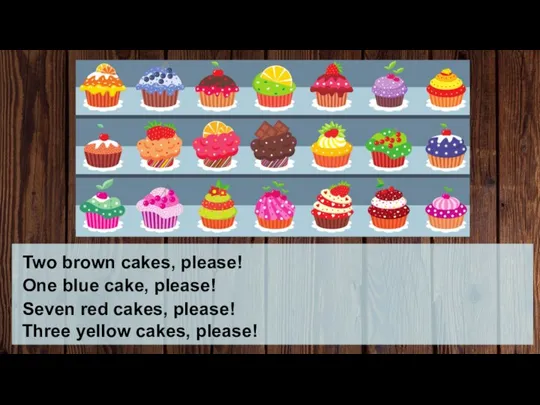 Two brown cakes, please
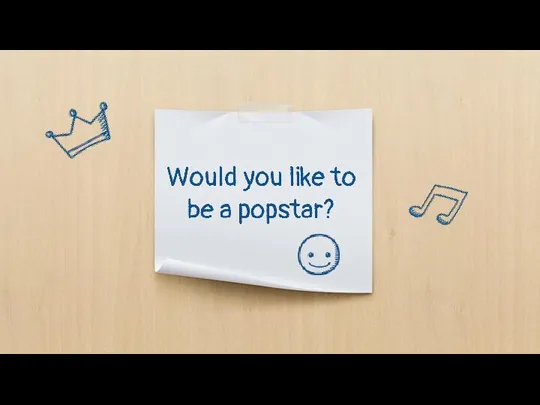 Grade what would you like to be
 What are you going to be?
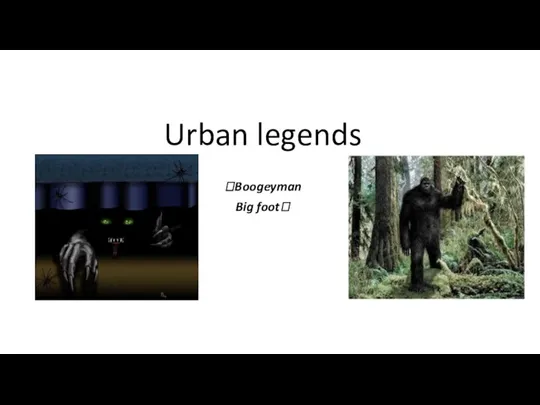 Urban legends
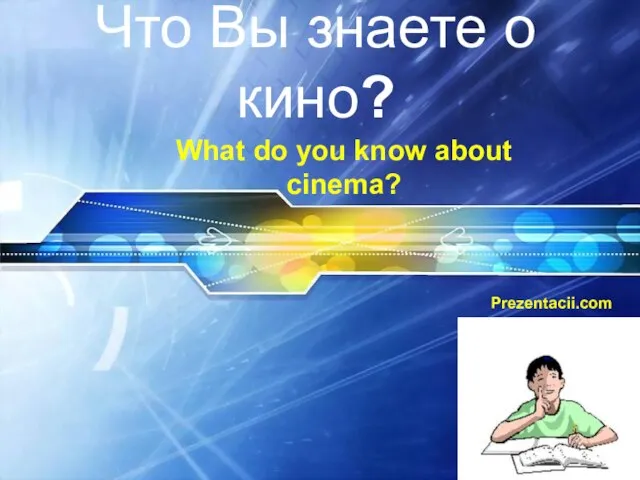 Презентация на тему What do you know about cinema - Что Вы знаете о кино
 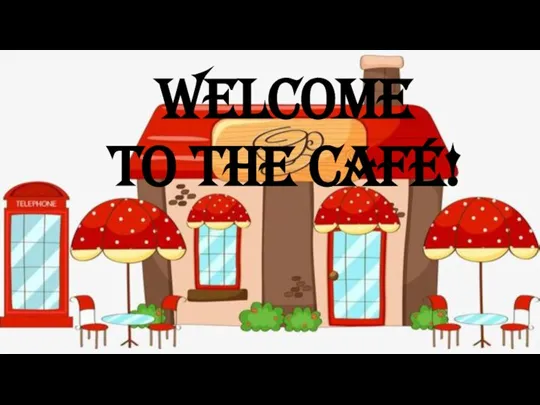 Welcome to the cafe
 Longman_Some_any_Is there_Are there
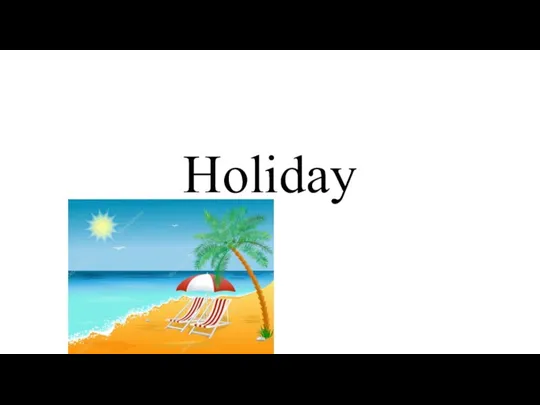 Holiday
 Final Presentation
 Movie time
 Sights of London
 Animali verbi
 Ariel
Ariel We describe the actions on the picture. Present continuous
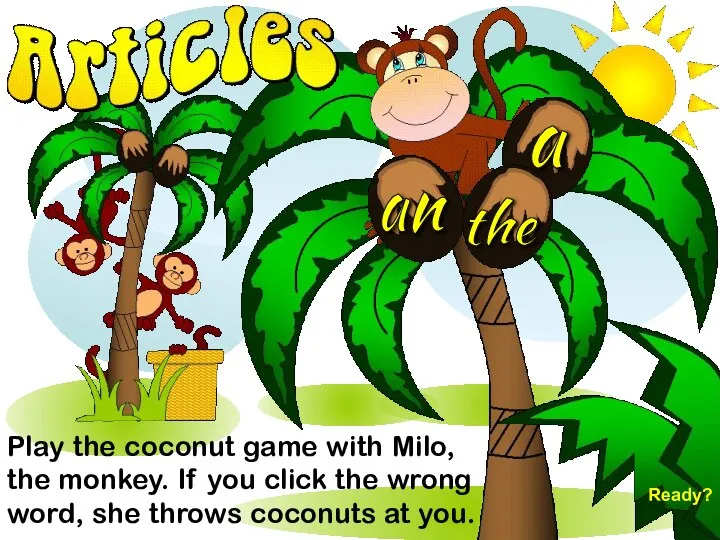 Articles. Game
 Parts and mechanisms
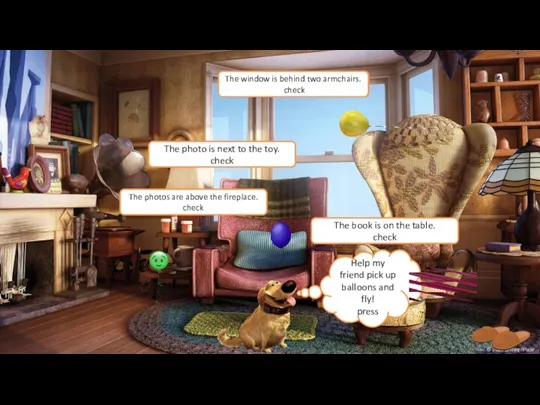 There are game
 Fish and chips
 Jobs. To develop lexical and speaking skills
 I like the cat. Love
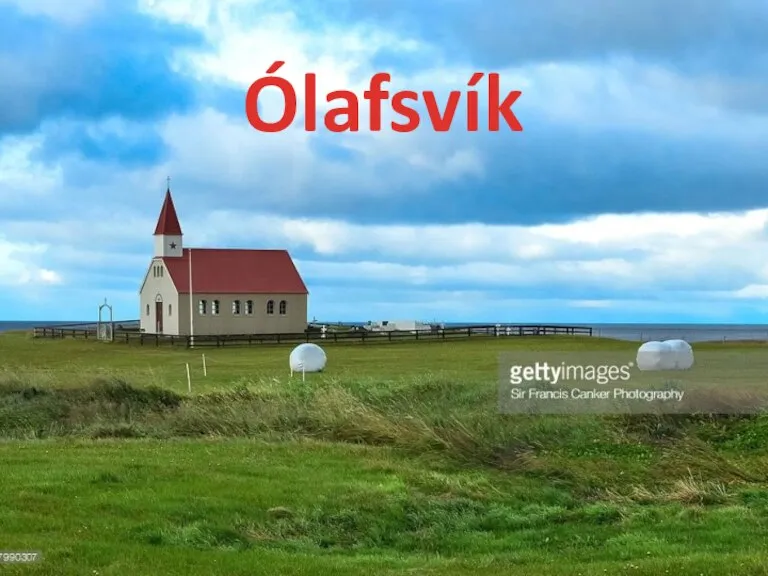 Ólafsvík is a small town in Iceland
 Past tenses forms in speaking
 Halloween. Puzzle
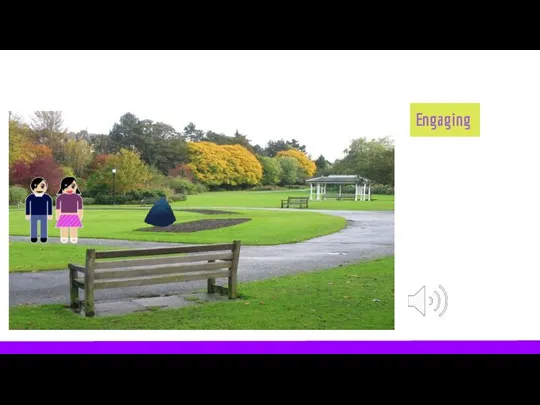 Discovery learning
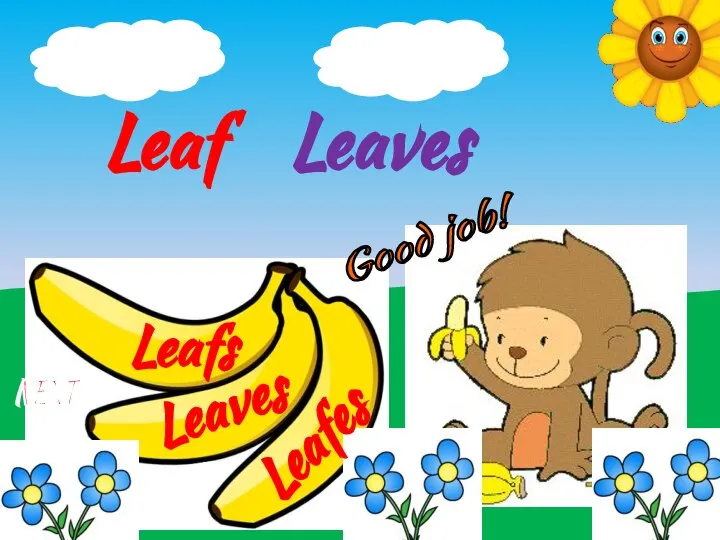 Plural nouns
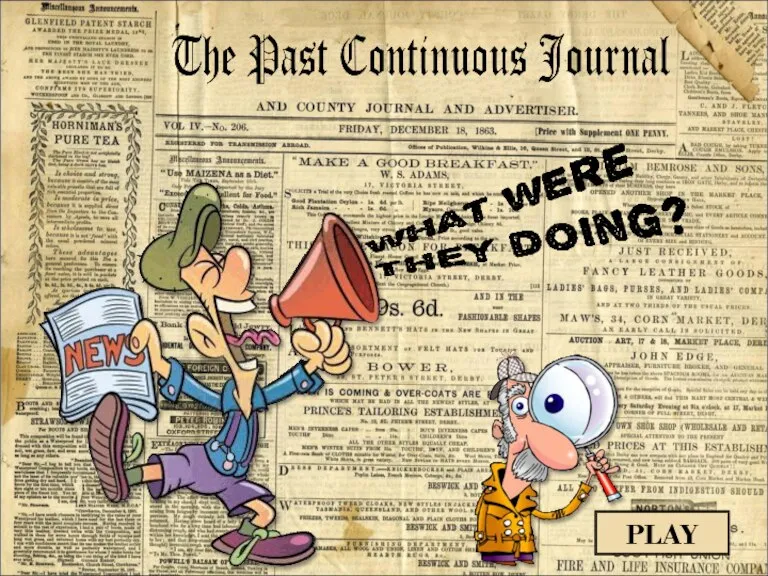 Past continuous