- Linked List- Insert delete operations

Содержание
- 2. Array Limitations What are the limitations of an array, as a data structure? Fixed size Physically
- 3. List Overview Basic operations of linked lists Insert, find, delete, print, etc. Variations of linked lists
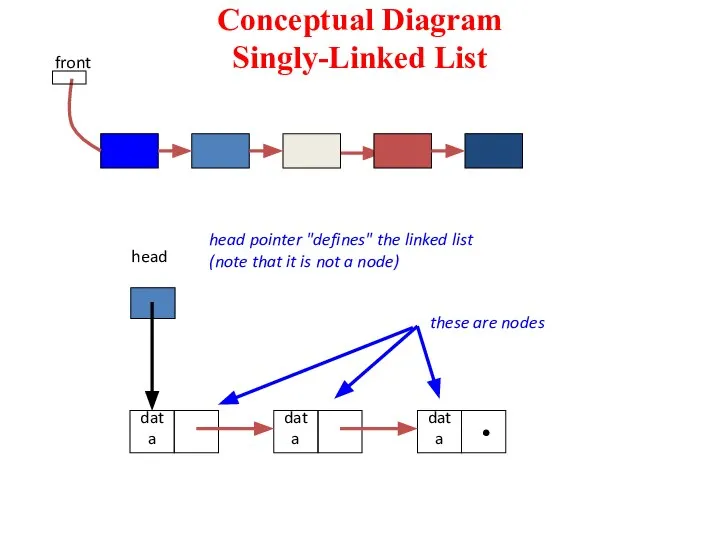
- 4. Conceptual Diagram Singly-Linked List
- 5. Advantages of Linked Lists The items do not have to be stored in consecutive memory locations:
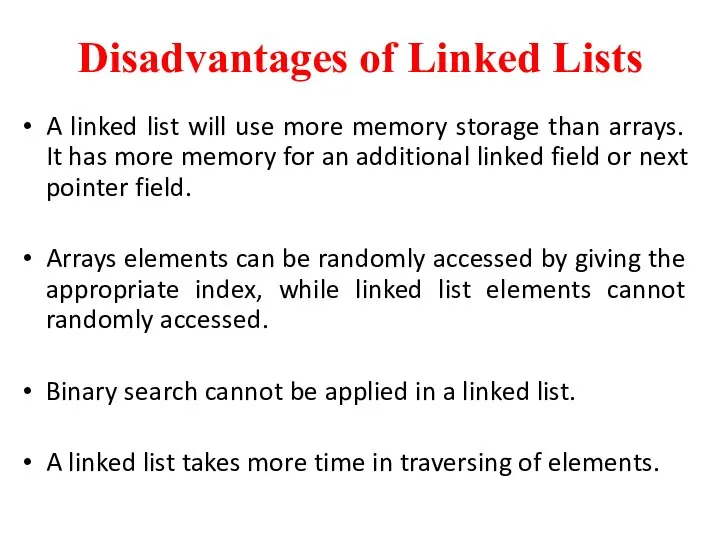
- 6. Disadvantages of Linked Lists A linked list will use more memory storage than arrays. It has
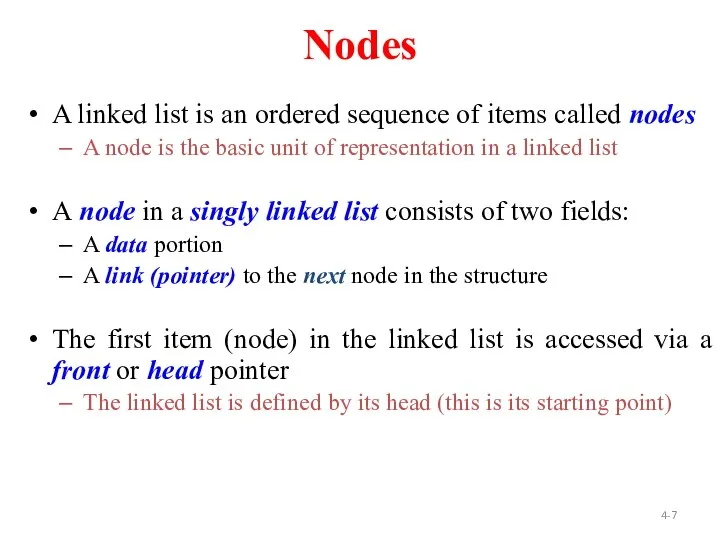
- 7. 4- Nodes A linked list is an ordered sequence of items called nodes A node is
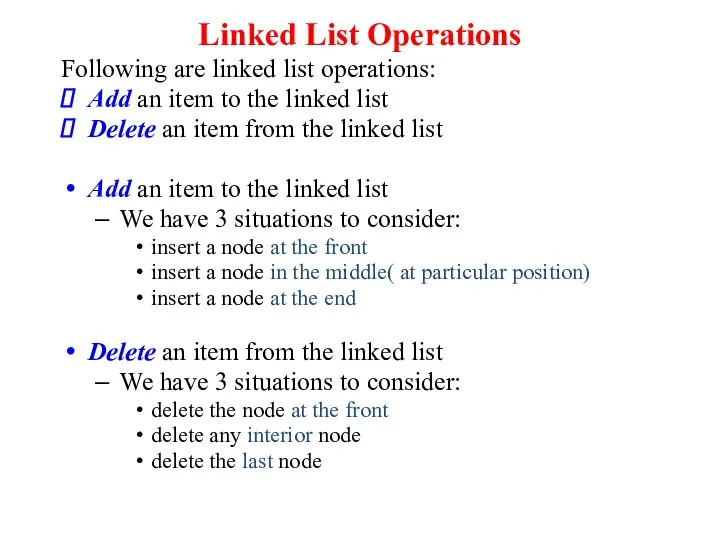
- 8. Linked List Operations Following are linked list operations: Add an item to the linked list Delete
- 9. A Simple Linked List Class We use two classes: Node and List Declare Node class for
- 10. A Simple Linked List Class Declare List, which contains head: a pointer to the first node
- 11. A Simple Linked List Class Operations of List IsEmpty: determine whether or not the list is
- 12. Inserting a new node Possible cases of InsertNode Insert into an empty list Insert in front
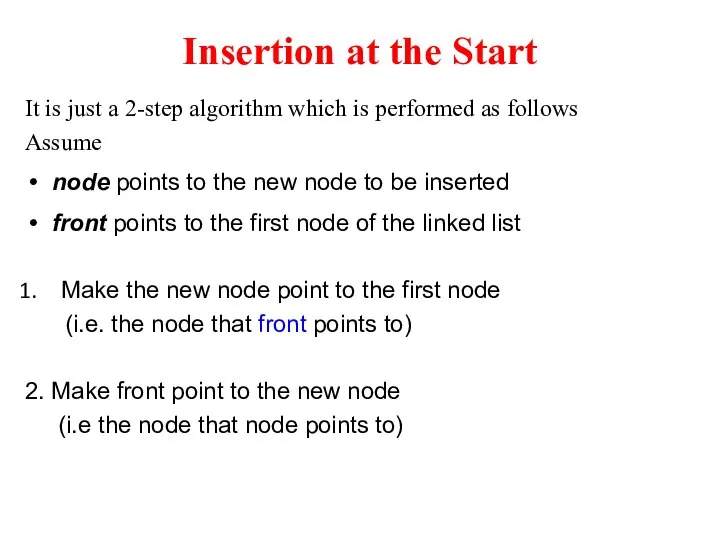
- 13. Insertion at the Start It is just a 2-step algorithm which is performed as follows Assume
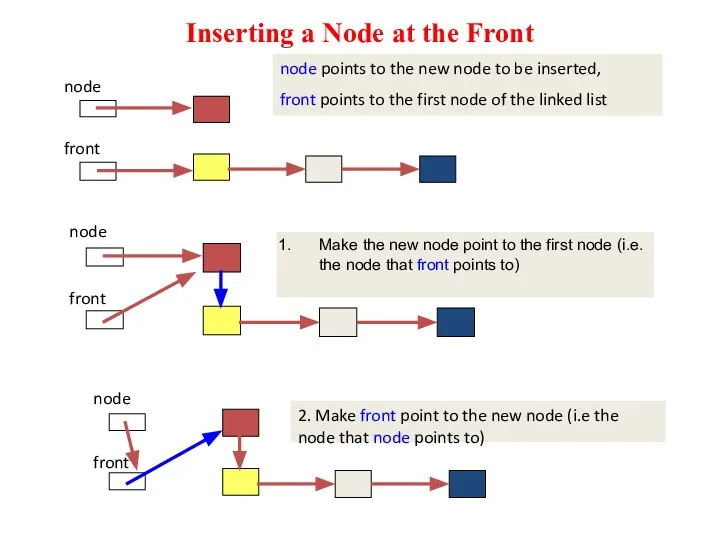
- 14. Inserting a Node at the Front
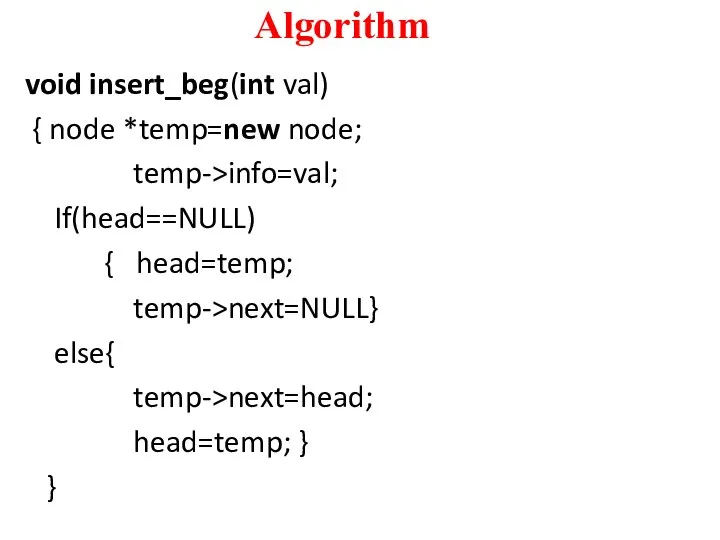
- 15. Algorithm void insert_beg(int val) { node *temp=new node; temp->info=val; If(head==NULL) { head=temp; temp->next=NULL} else{ temp->next=head; head=temp;
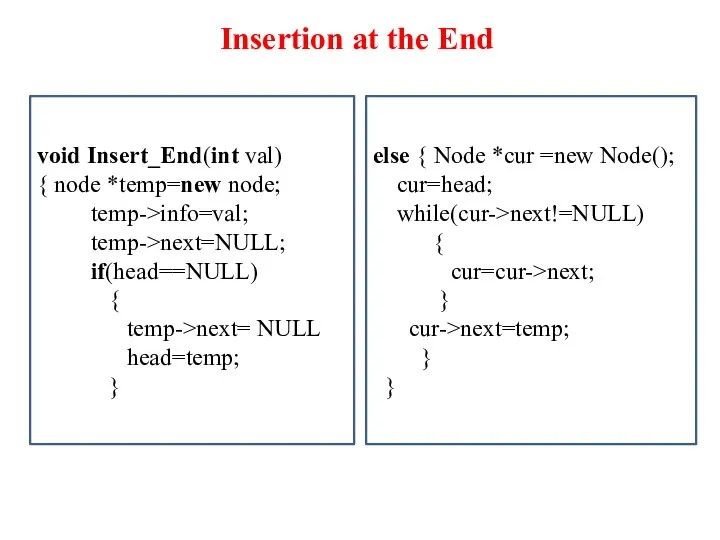
- 16. Insertion at the End else { Node *cur =new Node(); cur=head; while(cur->next!=NULL) { cur=cur->next; } cur->next=temp;
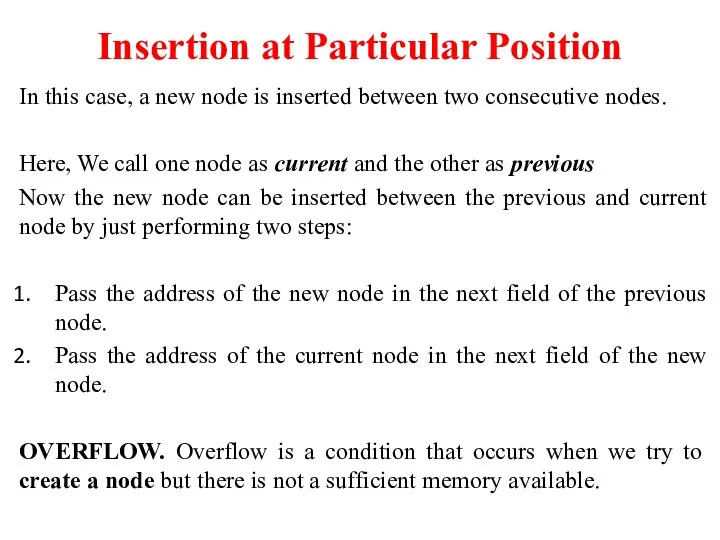
- 17. Insertion at Particular Position In this case, a new node is inserted between two consecutive nodes.
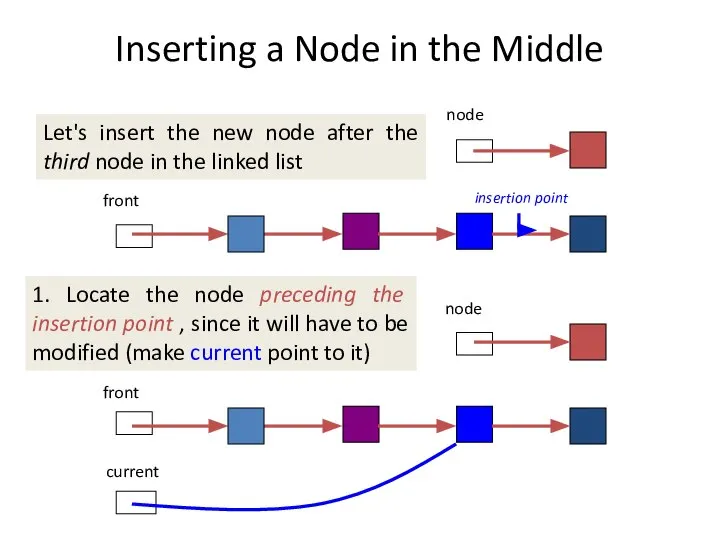
- 18. Inserting a Node in the Middle front node Let's insert the new node after the third
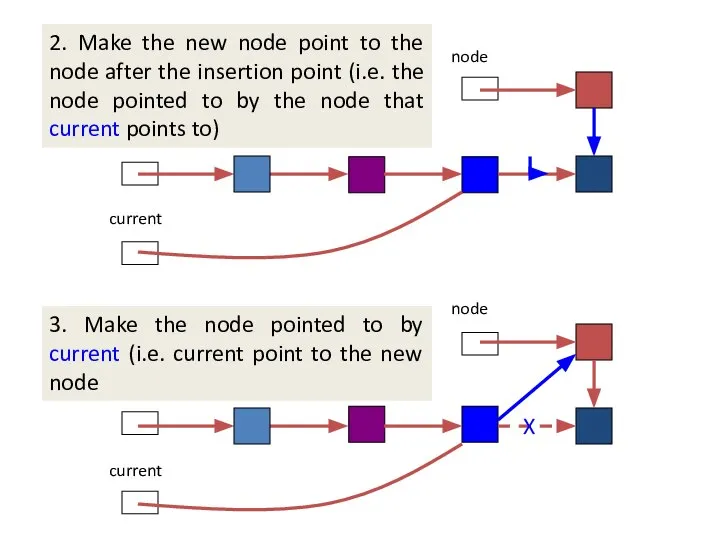
- 19. front node 2. Make the new node point to the node after the insertion point (i.e.
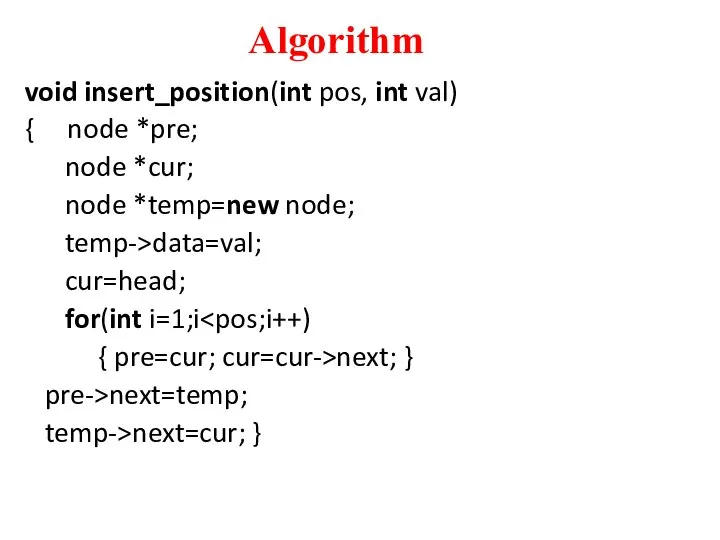
- 20. Algorithm void insert_position(int pos, int val) { node *pre; node *cur; node *temp=new node; temp->data=val; cur=head;
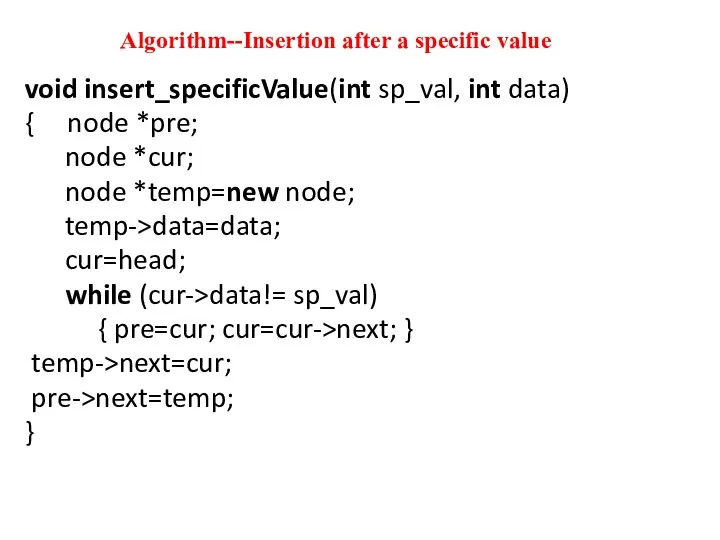
- 21. Algorithm--Insertion after a specific value void insert_specificValue(int sp_val, int data) { node *pre; node *cur; node
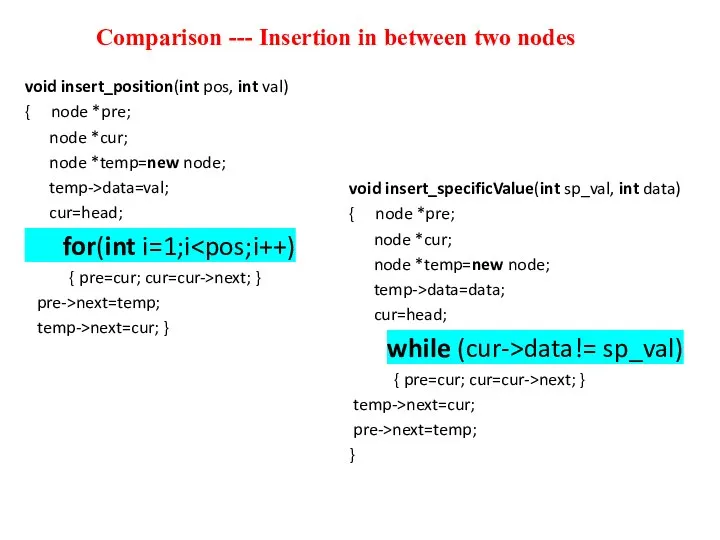
- 22. Comparison --- Insertion in between two nodes void insert_specificValue(int sp_val, int data) { node *pre; node
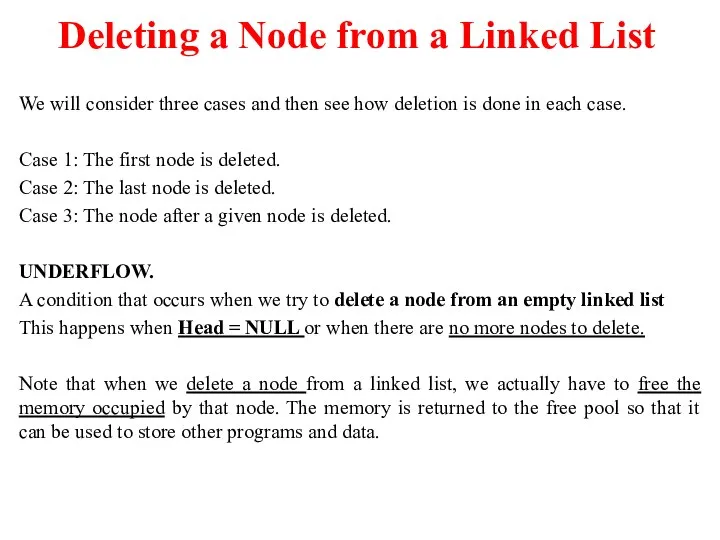
- 23. Deleting a Node from a Linked List We will consider three cases and then see how
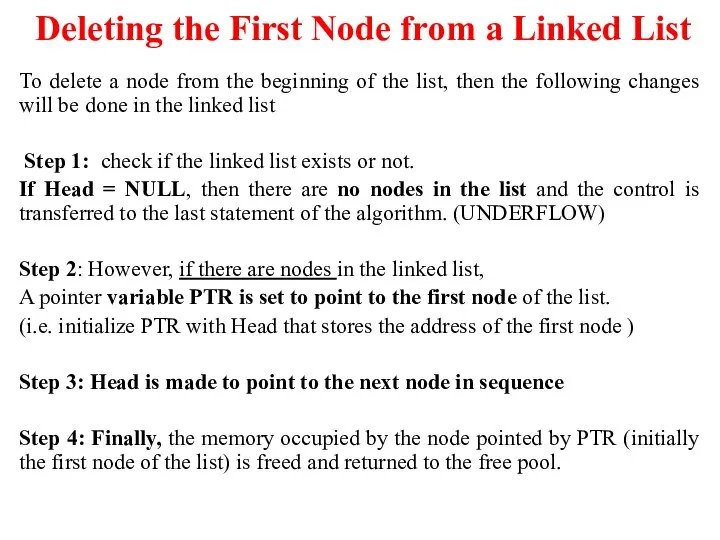
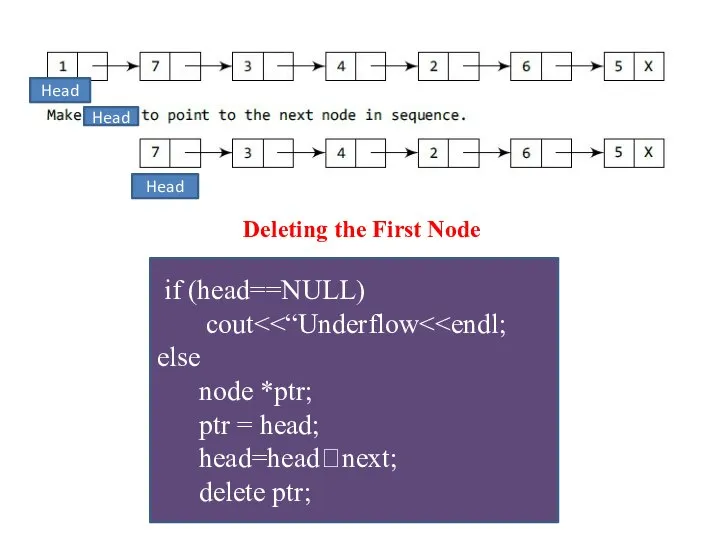
- 24. Deleting the First Node from a Linked List To delete a node from the beginning of
- 25. if (head==NULL) cout else node *ptr; ptr = head; head=head?next; delete ptr; Deleting the First Node
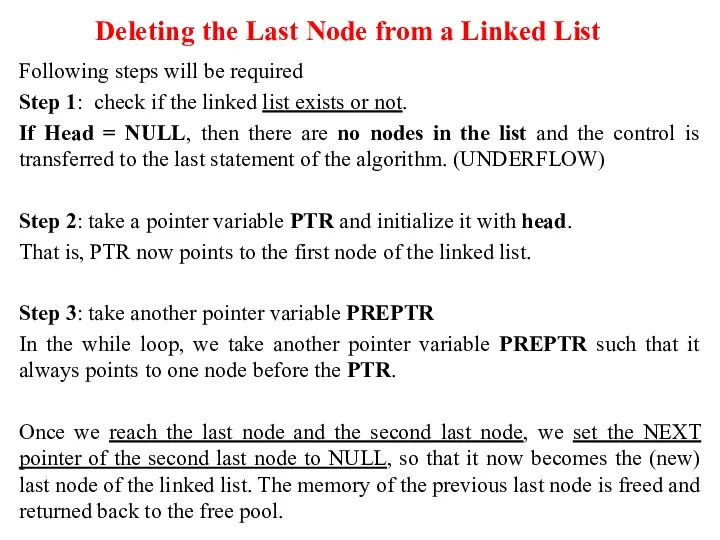
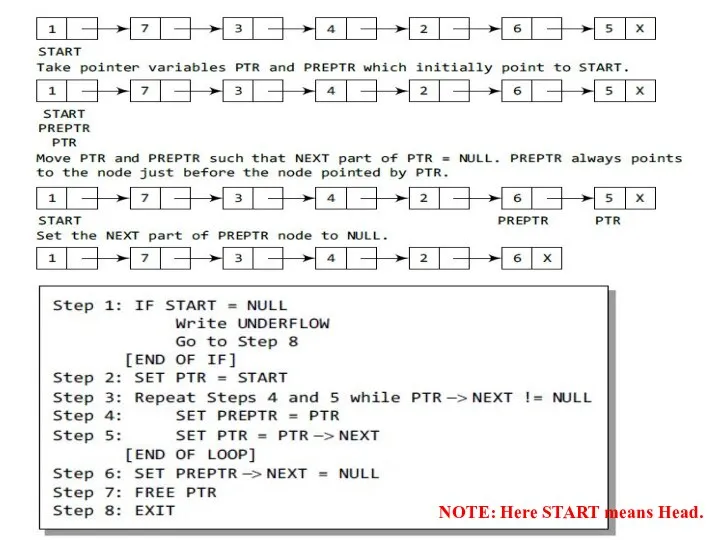
- 26. Deleting the Last Node from a Linked List Following steps will be required Step 1: check
- 27. NOTE: Here START means Head.
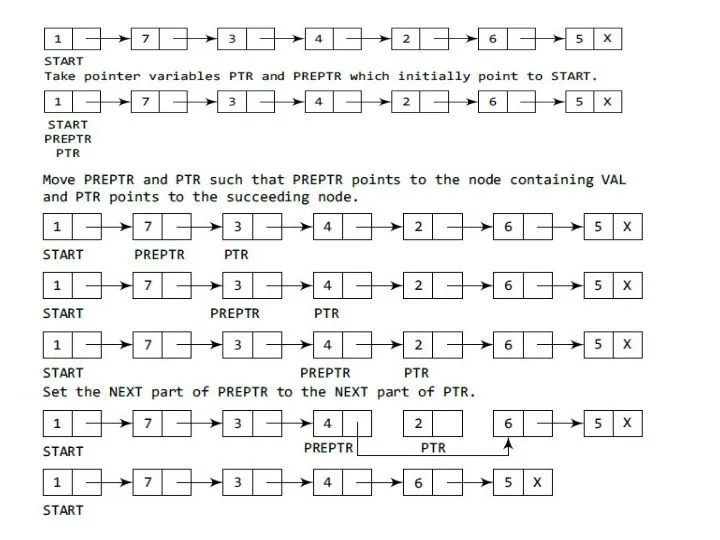
- 28. Deleting the Specific Node in a Linked List Then the following changes will be done in
- 31. Скачать презентацию

Слайд 3List Overview
Basic operations of linked lists
Insert, find, delete, print, etc.
Variations of linked
List Overview
Basic operations of linked lists
Insert, find, delete, print, etc.
Variations of linked

Слайд 4Conceptual Diagram
Singly-Linked List
Conceptual Diagram
Singly-Linked List
Слайд 5Advantages of Linked Lists
The items do not have to be stored in
Advantages of Linked Lists
The items do not have to be stored in

Слайд 6Disadvantages of Linked Lists
A linked list will use more memory storage than
Disadvantages of Linked Lists
A linked list will use more memory storage than
Слайд 74-
Nodes
A linked list is an ordered sequence of items called nodes
A node
4-
Nodes
A linked list is an ordered sequence of items called nodes
A node
Слайд 8Linked List Operations
Following are linked list operations:
Add an item to the linked
Linked List Operations
Following are linked list operations:
Add an item to the linked
Слайд 9A Simple Linked List Class
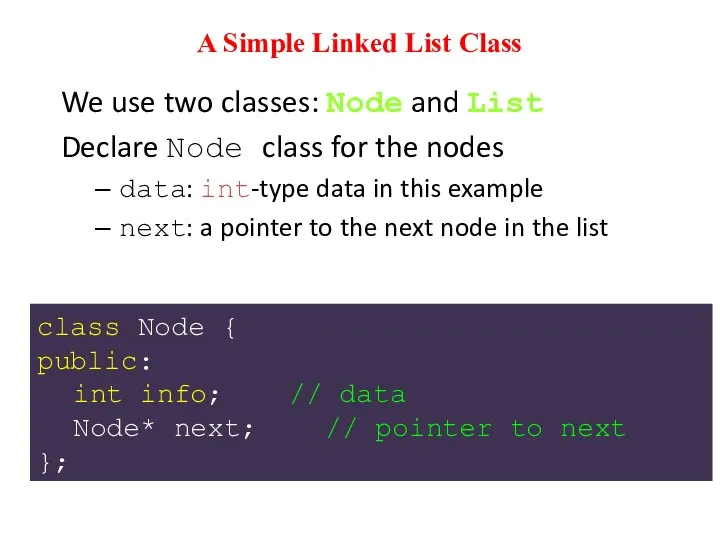
We use two classes: Node and List
Declare Node
A Simple Linked List Class
We use two classes: Node and List
Declare Node
Слайд 10A Simple Linked List Class
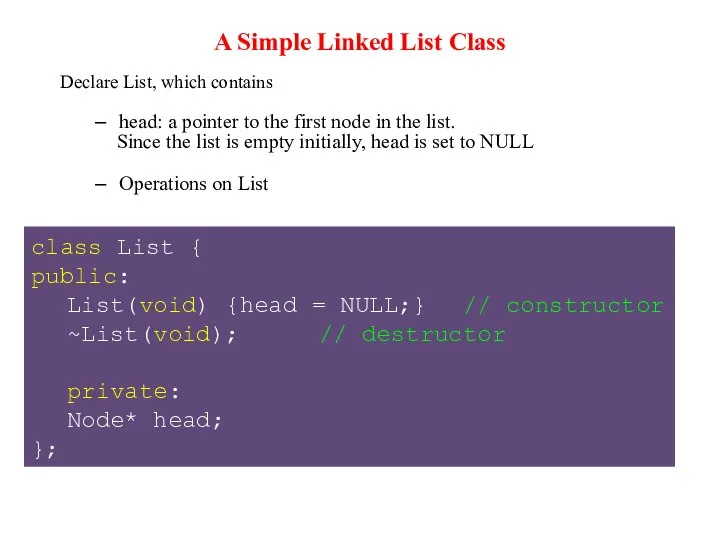
Declare List, which contains
head: a pointer to the
A Simple Linked List Class
Declare List, which contains
head: a pointer to the
Слайд 11A Simple Linked List Class
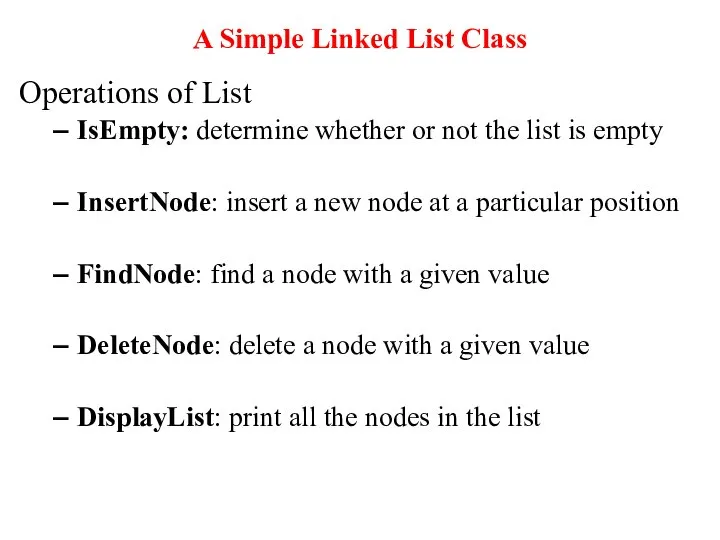
Operations of List
IsEmpty: determine whether or not
A Simple Linked List Class
Operations of List
IsEmpty: determine whether or not
Слайд 12Inserting a new node
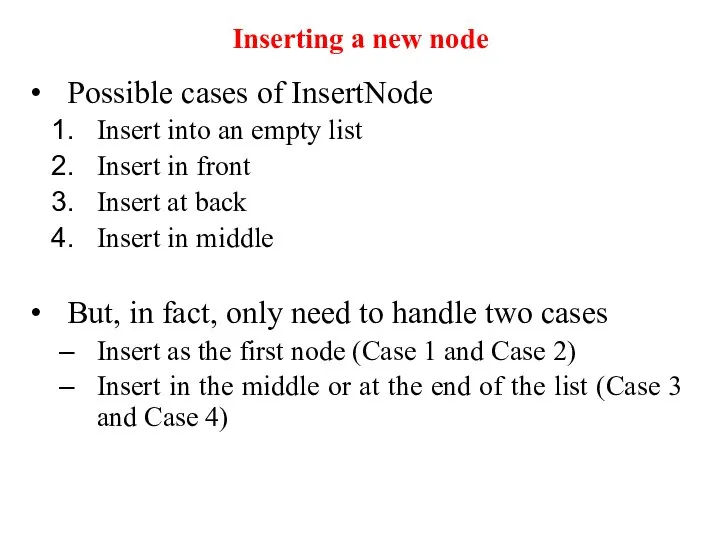
Possible cases of InsertNode
Insert into an empty list
Insert in
Inserting a new node
Possible cases of InsertNode
Insert into an empty list
Insert in
Слайд 13
Insertion at the Start
It is just a 2-step algorithm which is performed
Insertion at the Start
It is just a 2-step algorithm which is performed
Слайд 14Inserting a Node at the Front
Inserting a Node at the Front
Слайд 15Algorithm
void insert_beg(int val)
{ node *temp=new node;
temp->info=val;
If(head==NULL)
{ head=temp;
Algorithm
void insert_beg(int val)
{ node *temp=new node;
temp->info=val;
If(head==NULL)
{ head=temp;
Слайд 16Insertion at the End
else { Node *cur =new Node();
cur=head;
while(cur->next!=NULL)
Insertion at the End
else { Node *cur =new Node();
cur=head;
while(cur->next!=NULL)
Слайд 17
Insertion at Particular Position
In this case, a new node is inserted between
Insertion at Particular Position
In this case, a new node is inserted between
Слайд 18Inserting a Node in the Middle
front
node
Let's insert the new node after the
Inserting a Node in the Middle
front
node
Let's insert the new node after the
Слайд 19front
node
2. Make the new node point to the node after the insertion
front
node
2. Make the new node point to the node after the insertion
Слайд 20Algorithm
void insert_position(int pos, int val)
{ node *pre;
node *cur;
Algorithm
void insert_position(int pos, int val)
{ node *pre;
node *cur;
Слайд 21Algorithm--Insertion after a specific value
void insert_specificValue(int sp_val, int data)
{ node *pre;
Algorithm--Insertion after a specific value
void insert_specificValue(int sp_val, int data)
{ node *pre;
Слайд 22Comparison --- Insertion in between two nodes
void insert_specificValue(int sp_val, int data)
Comparison --- Insertion in between two nodes
void insert_specificValue(int sp_val, int data)
Слайд 23Deleting a Node from a Linked List
We will consider three cases and
Deleting a Node from a Linked List
We will consider three cases and
Слайд 24Deleting the First Node from a Linked List
To delete a node from
Deleting the First Node from a Linked List
To delete a node from
Слайд 25 if (head==NULL)
cout<<“Underflow<else
node *ptr;
ptr = head;
head=head?next;
delete ptr;
Deleting
if (head==NULL) Deleting
cout<<“Underflow<
node *ptr;
ptr = head;
head=head?next;
delete ptr;
Слайд 26Deleting the Last Node from a Linked List
Following steps will be required
Step
Deleting the Last Node from a Linked List
Following steps will be required
Step
Слайд 27NOTE: Here START means Head.
NOTE: Here START means Head.
Слайд 28Deleting the Specific Node in a Linked List
Then the following changes will
Deleting the Specific Node in a Linked List
Then the following changes will

 Программно-методический комплекс ОРГ-МАСТЕР ®Графикс
 English speaking countries
 Сады сбываются. Сад по-новому
 Презентация на тему Педагогический опыт работы учителя английского языка
 The PIR-PSD current release 78.03, November 24, 2003, contains 283366 entries. 65 proteins The PIR was established in 1984 by the National Biomedical.
 Проектирование региональных МИС
 Всероссийский физкультурно - спортивный комплекс Готов к труду и обороне (ГТО)
 Благотворительный фонд помощи пострадавшим в дорожно-транспортных происшествиях СтопДТП
 Выбор
Выбор Считалки на английском
  Развитие социальной психологии
 Историческое развитие человечества: поиски социальной макротеории
 Коммерческое предложение по ГБО для таксомоторных парков от Гарант-Газ
 Государственная Третьяковская галерея
 Космограммы студентов
 Об организации работы в УПФР в Увинском районе по приему и обработке заявлений о перерасчете по нестраховым периодам
 Республике Карелия 85 лет
 Современный мир 10 класс
 Архитектурный дизайн городской среды
 Омплексное решение для вашего бизнеса
 Stratagy of future
 Открытый урок
 79a28ae3aada471eb2bf6b04f93de9cc
 Тренинг по решению конфликтов среди подростков
 Правописание гласных после шипящих и Ц
 «Мой край родной, люблю тебя...»(создание экскурсионного маршрута)
 Мосгормаш -технопарк будущего
 Обеспечение