- Windows Forms Base Class Libraries

Содержание
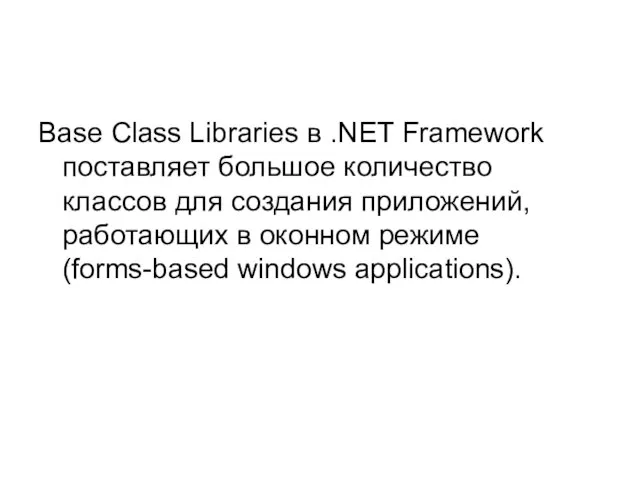
- 2. Base Class Libraries в .NET Framework поставляет большое количество классов для создания приложений, работающих в оконном
- 3. Working with Windows and Forms Most operating systems today use event-driven programming and forms to interact
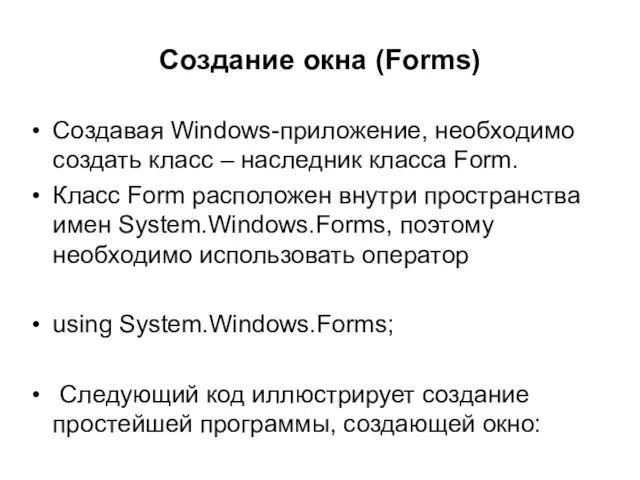
- 4. Создание окна (Forms) Создавая Windows-приложение, необходимо создать класс – наследник класса Form. Класс Form расположен внутри
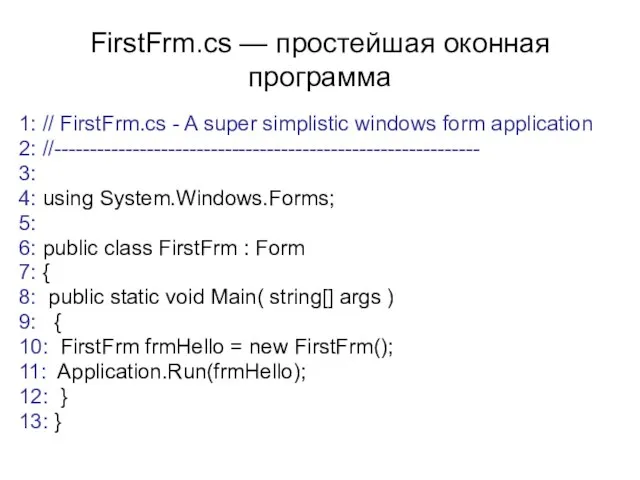
- 5. FirstFrm.cs — простейшая оконная программа 1: // FirstFrm.cs - A super simplistic windows form application 2:
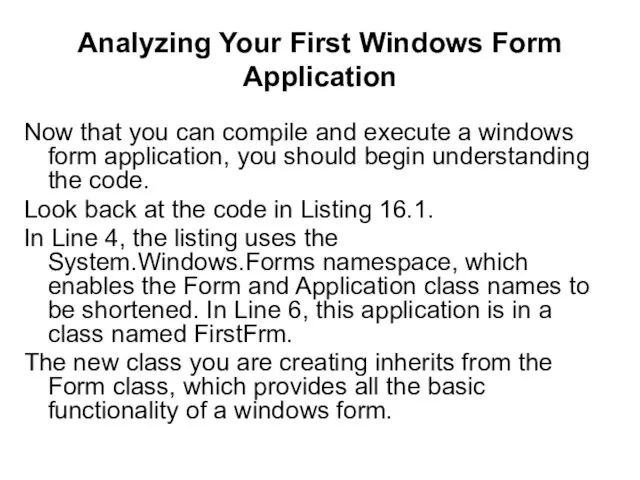
- 6. Analyzing Your First Windows Form Application Now that you can compile and execute a windows form
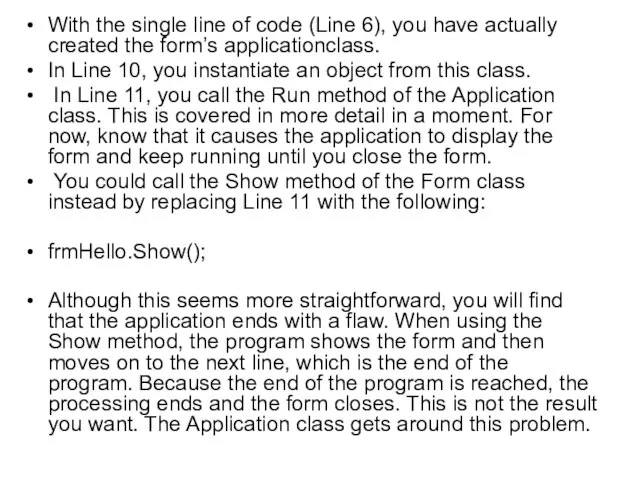
- 7. With the single line of code (Line 6), you have actually created the form’s applicationclass. In
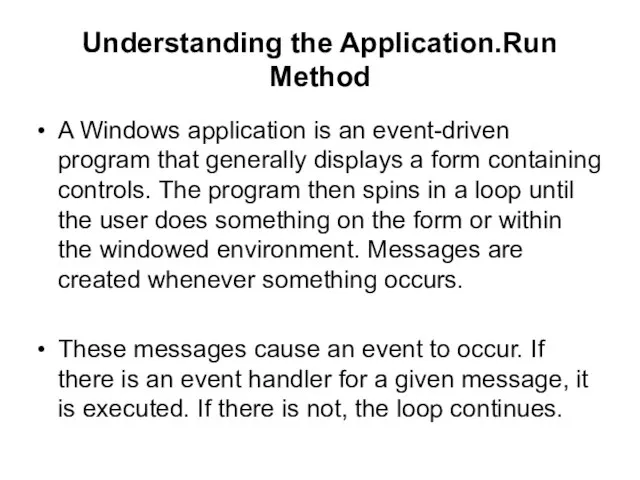
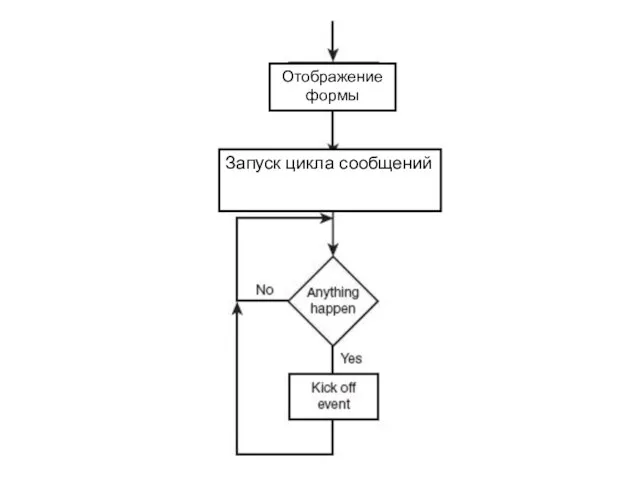
- 8. Understanding the Application.Run Method A Windows application is an event-driven program that generally displays a form
- 9. Отображение формы Запуск цикла сообщений
- 10. As you can see, the loop never seems to end. Actually, an event can end the
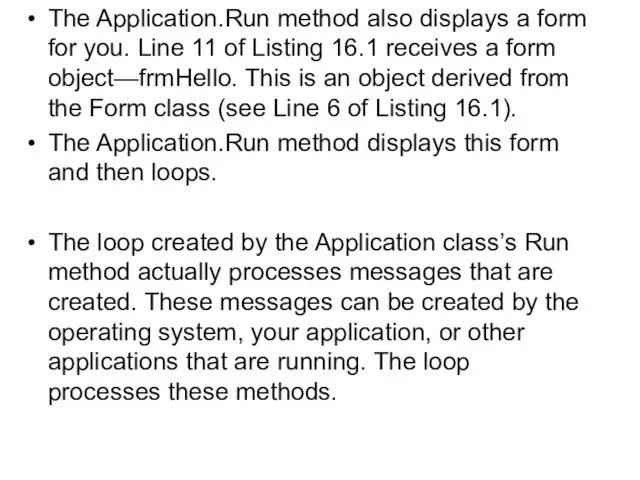
- 11. The Application.Run method also displays a form for you. Line 11 of Listing 16.1 receives a
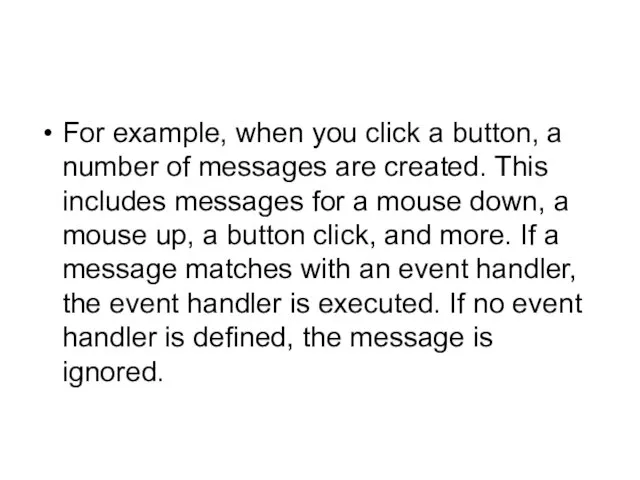
- 12. For example, when you click a button, a number of messages are created. This includes messages
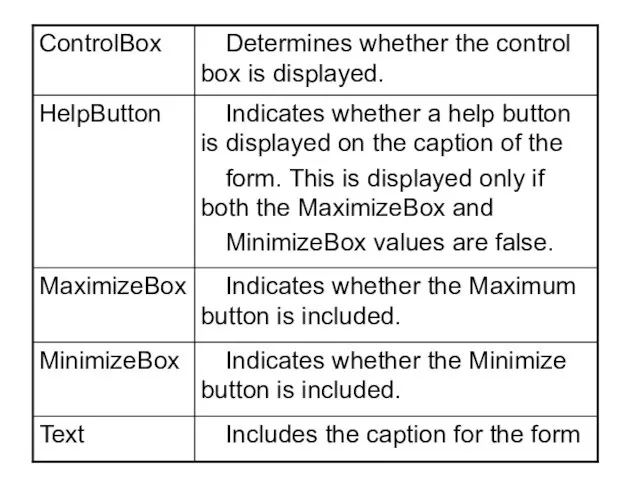
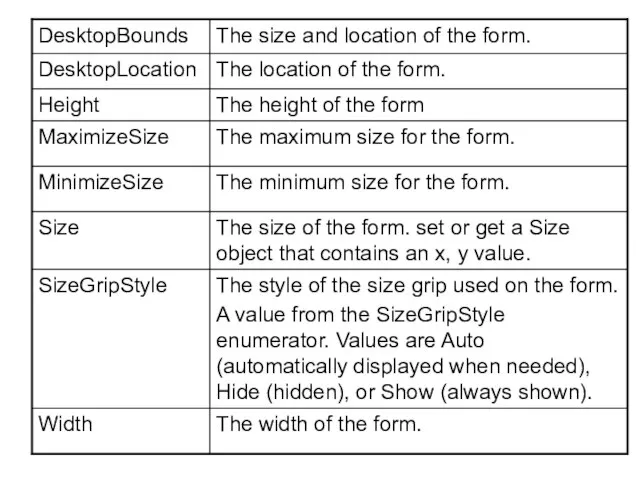
- 13. Customizing a Form In the previous listing, you saw a basic form presented. A number of
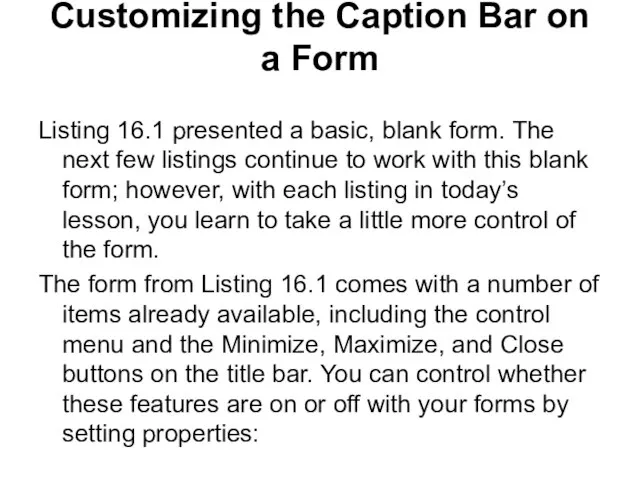
- 14. Customizing the Caption Bar on a Form Listing 16.1 presented a basic, blank form. The next
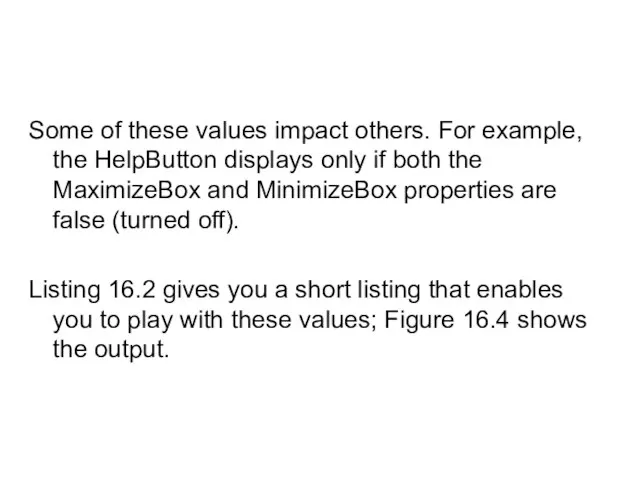
- 16. Some of these values impact others. For example, the HelpButton displays only if both the MaximizeBox
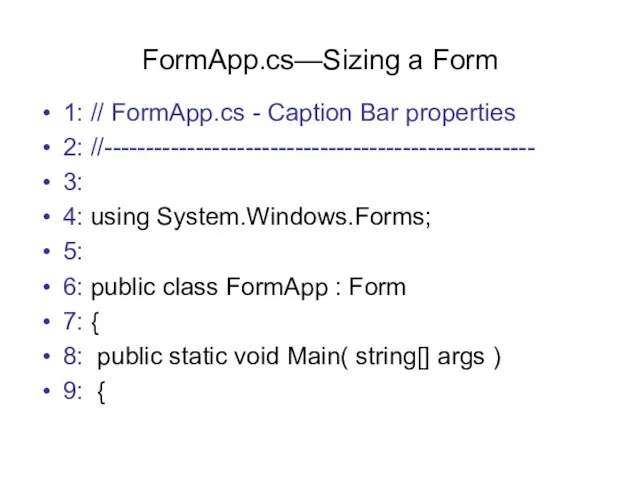
- 17. FormApp.cs—Sizing a Form 1: // FormApp.cs - Caption Bar properties 2: //---------------------------------------------------- 3: 4: using System.Windows.Forms;
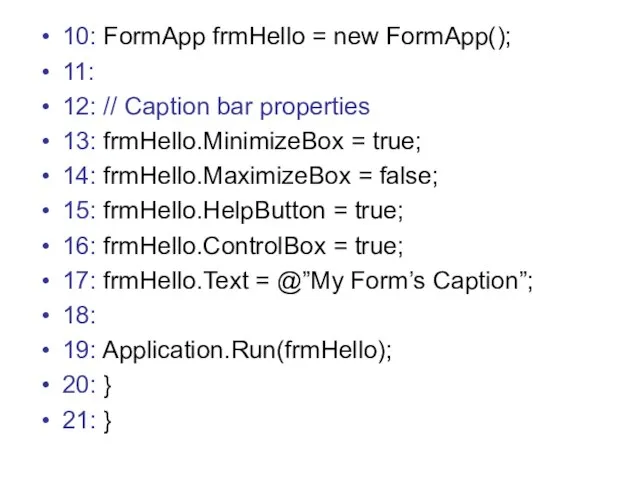
- 18. 10: FormApp frmHello = new FormApp(); 11: 12: // Caption bar properties 13: frmHello.MinimizeBox = true;
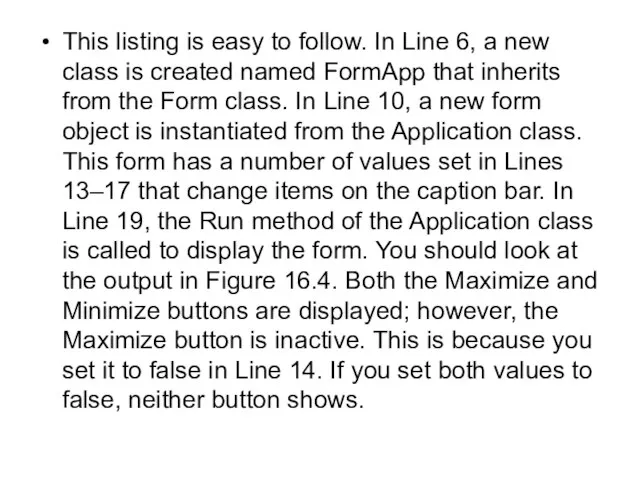
- 19. This listing is easy to follow. In Line 6, a new class is created named FormApp
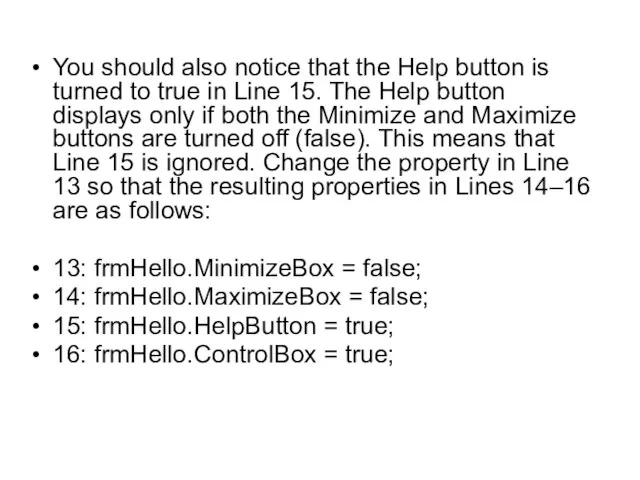
- 20. You should also notice that the Help button is turned to true in Line 15. The
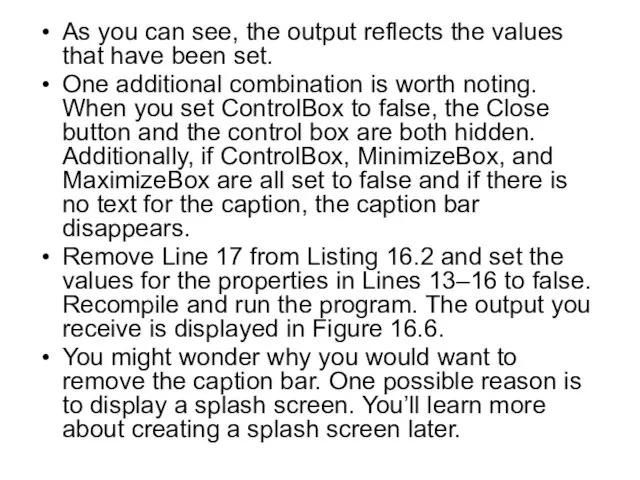
- 21. As you can see, the output reflects the values that have been set. One additional combination
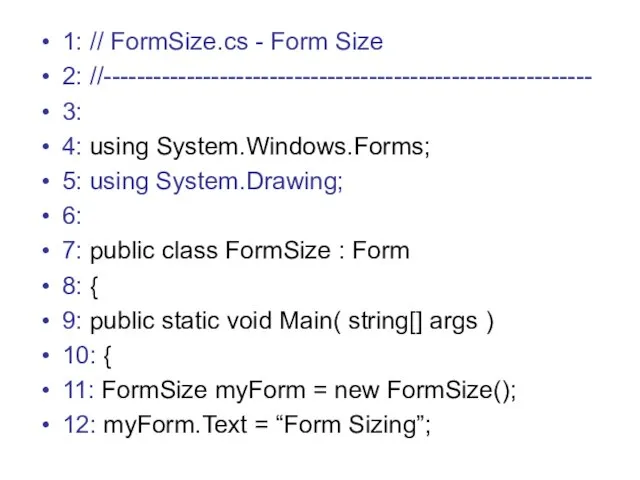
- 25. 1: // FormSize.cs - Form Size 2: //----------------------------------------------------------- 3: 4: using System.Windows.Forms; 5: using System.Drawing; 6:
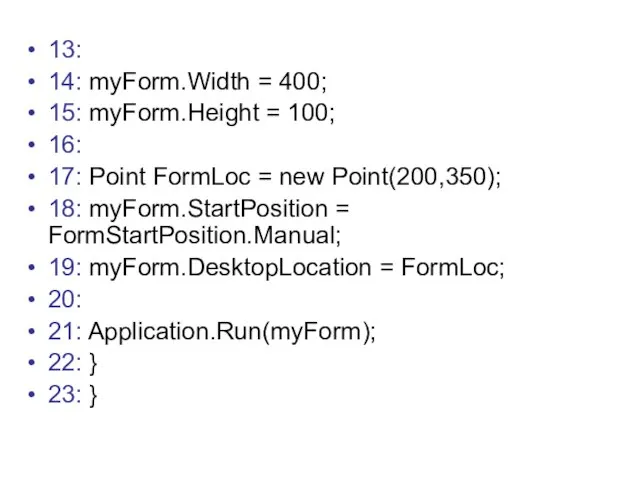
- 26. 13: 14: myForm.Width = 400; 15: myForm.Height = 100; 16: 17: Point FormLoc = new Point(200,350);
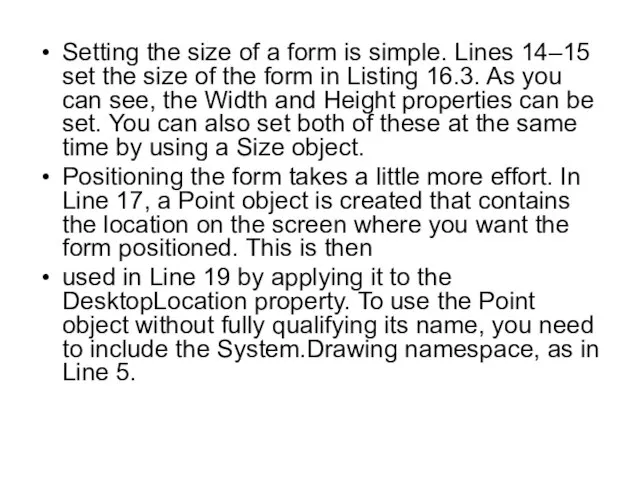
- 27. Setting the size of a form is simple. Lines 14–15 set the size of the form
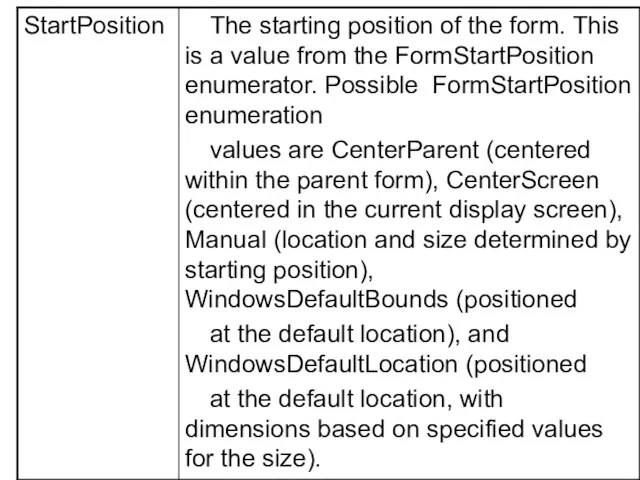
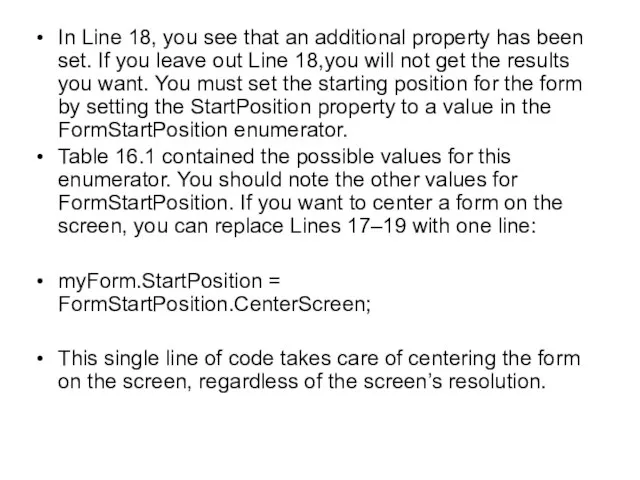
- 28. In Line 18, you see that an additional property has been set. If you leave out
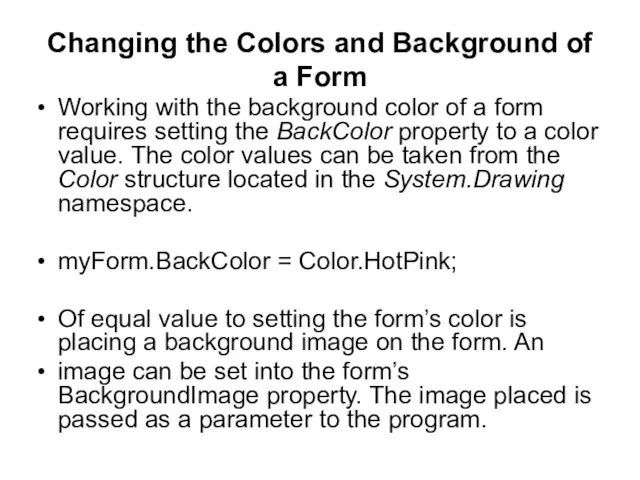
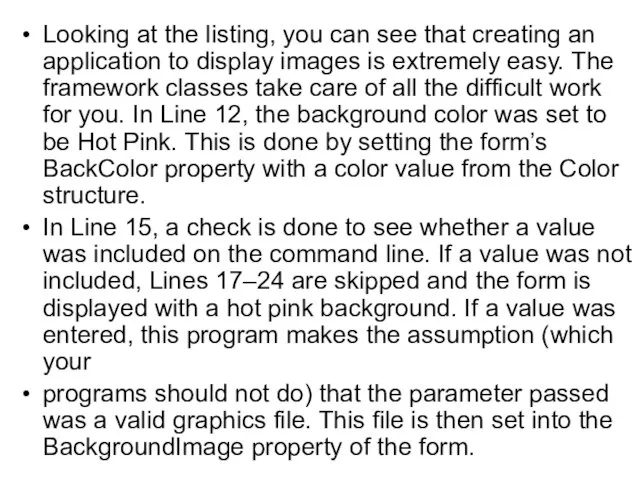
- 29. Changing the Colors and Background of a Form Working with the background color of a form
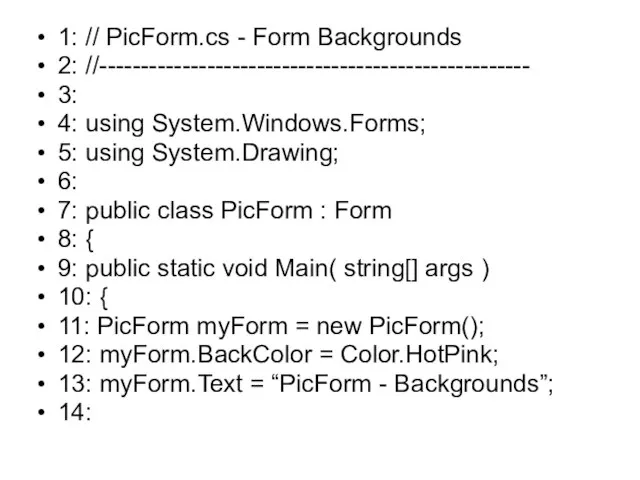
- 30. 1: // PicForm.cs - Form Backgrounds 2: //---------------------------------------------------- 3: 4: using System.Windows.Forms; 5: using System.Drawing; 6:
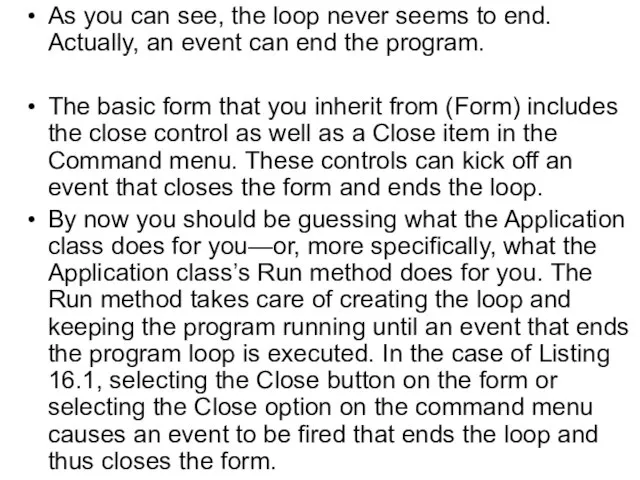
- 31. 15: if (args.Length >= 1) 16: { 17: myForm.BackgroundImage = Image.FromFile(args[0]); 18: 19: Size tmpSize =
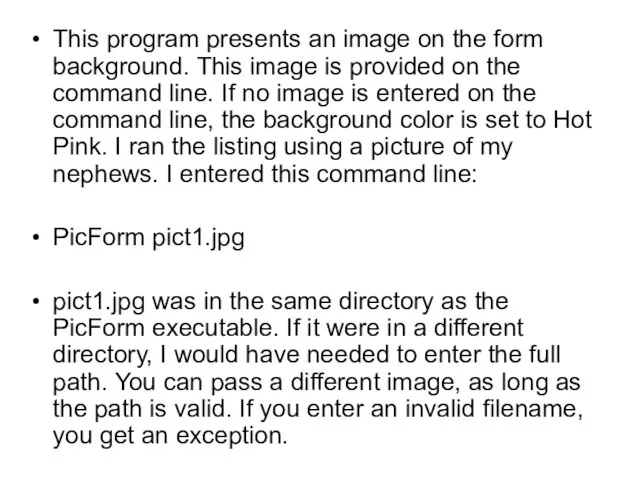
- 32. This program presents an image on the form background. This image is provided on the command
- 33. Looking at the listing, you can see that creating an application to display images is extremely
- 35. Скачать презентацию
Слайд 3Working with Windows and Forms
Most operating systems today use event-driven programming and
Working with Windows and Forms
Most operating systems today use event-driven programming and

Слайд 4Создание окна (Forms)
Создавая Windows-приложение, необходимо создать класс – наследник класса Form.
Класс Form
Создание окна (Forms)
Создавая Windows-приложение, необходимо создать класс – наследник класса Form.
Класс Form
Слайд 5FirstFrm.cs — простейшая оконная программа
1: // FirstFrm.cs - A super simplistic windows
FirstFrm.cs — простейшая оконная программа
1: // FirstFrm.cs - A super simplistic windows
Слайд 6Analyzing Your First Windows Form Application
Now that you can compile and execute
Analyzing Your First Windows Form Application
Now that you can compile and execute
Слайд 7With the single line of code (Line 6), you have actually created
With the single line of code (Line 6), you have actually created
Слайд 8Understanding the Application.Run Method
A Windows application is an event-driven program that generally
Understanding the Application.Run Method
A Windows application is an event-driven program that generally
Слайд 9Отображение формы
Запуск цикла сообщений
Отображение формы
Запуск цикла сообщений
Слайд 10As you can see, the loop never seems to end. Actually, an
As you can see, the loop never seems to end. Actually, an
Слайд 11The Application.Run method also displays a form for you. Line 11 of
The Application.Run method also displays a form for you. Line 11 of
Слайд 12For example, when you click a button, a number of messages are
For example, when you click a button, a number of messages are
Слайд 13Customizing a Form
In the previous listing, you saw a basic form presented.
Customizing a Form
In the previous listing, you saw a basic form presented.
Слайд 14Customizing the Caption Bar on a Form
Listing 16.1 presented a basic, blank
Customizing the Caption Bar on a Form
Listing 16.1 presented a basic, blank
Слайд 16Some of these values impact others. For example, the HelpButton displays only
Some of these values impact others. For example, the HelpButton displays only
Слайд 17FormApp.cs—Sizing a Form
1: // FormApp.cs - Caption Bar properties
2: //----------------------------------------------------
3:
4: using System.Windows.Forms;
5:
6:
FormApp.cs—Sizing a Form
1: // FormApp.cs - Caption Bar properties
2: //----------------------------------------------------
3:
4: using System.Windows.Forms;
5:
6:
Слайд 1810: FormApp frmHello = new FormApp();
11:
12: // Caption bar properties
13: frmHello.MinimizeBox =
10: FormApp frmHello = new FormApp();
11:
12: // Caption bar properties
13: frmHello.MinimizeBox =
Слайд 19This listing is easy to follow. In Line 6, a new class
This listing is easy to follow. In Line 6, a new class
Слайд 20You should also notice that the Help button is turned to true
You should also notice that the Help button is turned to true
Слайд 21As you can see, the output reflects the values that have been
As you can see, the output reflects the values that have been
Слайд 251: // FormSize.cs - Form Size
2: //-----------------------------------------------------------
3:
4: using System.Windows.Forms;
5: using System.Drawing;
6:
7: public
1: // FormSize.cs - Form Size
2: //-----------------------------------------------------------
3:
4: using System.Windows.Forms;
5: using System.Drawing;
6:
7: public
Слайд 2613:
14: myForm.Width = 400;
15: myForm.Height = 100;
16:
17: Point FormLoc = new Point(200,350);
18:
13:
14: myForm.Width = 400;
15: myForm.Height = 100;
16:
17: Point FormLoc = new Point(200,350);
18:
Слайд 27Setting the size of a form is simple. Lines 14–15 set the
Setting the size of a form is simple. Lines 14–15 set the
Слайд 28In Line 18, you see that an additional property has been set.
In Line 18, you see that an additional property has been set.
Слайд 29Changing the Colors and Background of a Form
Working with the background color
Changing the Colors and Background of a Form
Working with the background color
Слайд 301: // PicForm.cs - Form Backgrounds
2: //----------------------------------------------------
3:
4: using System.Windows.Forms;
5: using System.Drawing;
6:
7: public
1: // PicForm.cs - Form Backgrounds
2: //----------------------------------------------------
3:
4: using System.Windows.Forms;
5: using System.Drawing;
6:
7: public
Слайд 3115: if (args.Length >= 1)
16: {
17: myForm.BackgroundImage = Image.FromFile(args[0]);
18:
19: Size tmpSize =
15: if (args.Length >= 1)
16: {
17: myForm.BackgroundImage = Image.FromFile(args[0]);
18:
19: Size tmpSize =
![15: if (args.Length >= 1) 16: { 17: myForm.BackgroundImage = Image.FromFile(args[0]); 18:](/_ipx/f_webp&q_80&fit_contain&s_1440x1080/imagesDir/jpg/376662/slide-30.jpg)
Слайд 32This program presents an image on the form background. This image is
This program presents an image on the form background. This image is
Слайд 33Looking at the listing, you can see that creating an application to
Looking at the listing, you can see that creating an application to
 АВС Модуль 3
 Почва растительность животный мир рельеф деятельность человека горные породы воды время климат Почвообразующие факторы.
 Презентация на тему Абхазия
 Эвипак Индастриз
 Проверка домашнего задания
 Сетевая подсистема Windows
 Деятельность как содержание образования в предметной области «Искусство»
 Об утверждении Порядка организации подготовки кадров для замещения должностей в органах внутренних дел Российской Федерации
 О жизни и творчестве С.А. Есенина
 Ловля и передача мяча в движении бегом. Броски в кольцо
 Моделі навколо нас
 Общая характеристика воображения. Виды воображения
 Окружающий мир. 2 класс. Окружающий мир. 2 класс. Программа «Перспективная начальная школа». Авторы: О.Н.Фетотова,Г.В.Трафимова,С.А
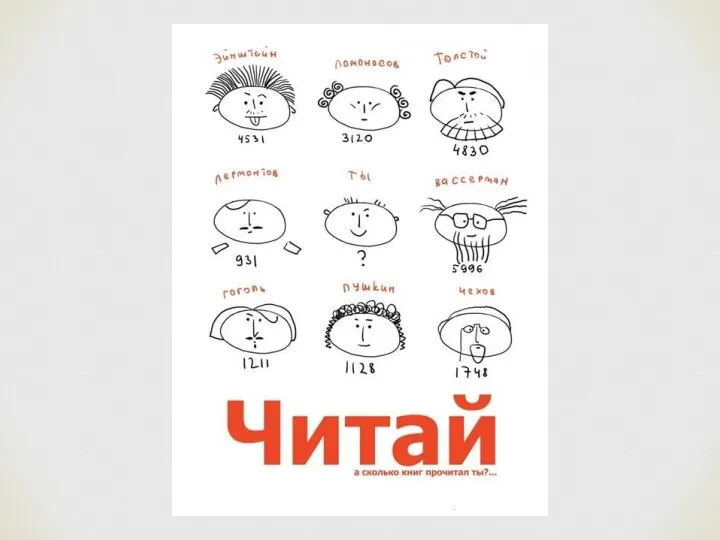 Значение чтения
 Ұлттық таба нан өніміне ақпараттық шолу жасау; таба нанның сапа көрсеткіштерін анықтау
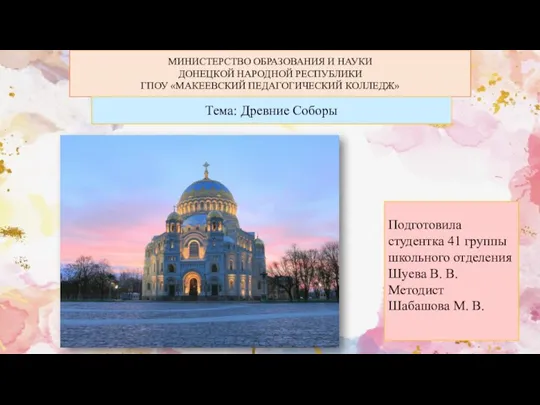 Древние Соборы
 Формирование ценностных ориентаций младшего школьника в современной информационной среде
 Платформа 2010 SQL Server 2008, восстановление при катастрофических сбоях Microsoft Дмитрий Артемов.
 Акцентуации характера
 Упр ИТ
 Полдник. Время есть булочки
 Презентация на тему Food and drink (Еда и напитки)
 Динамика физиологического и эмоционального состояния больных сердечно-сосудистыми заболеваниями в процессе музыкальной терапи
 Проект iknowwhatyoudownload.com анализирует трафик в файлообменных сетях
 Презентация "Жостовский букет" - скачать презентации по МХК
 31 МАЯВСЕМИРНЫЙ ДЕНЬ БЕЗ ТАБАКА
 Домовой. Дух и защитник дома
 Инновационная экономика и технологическое предпринимательство