- AVadm1-1 (2)

Содержание
- 2. Cisco switchi ja routeri algadministreerimine
- 3. Eesmärgid Turvalisus Kättesaadavus
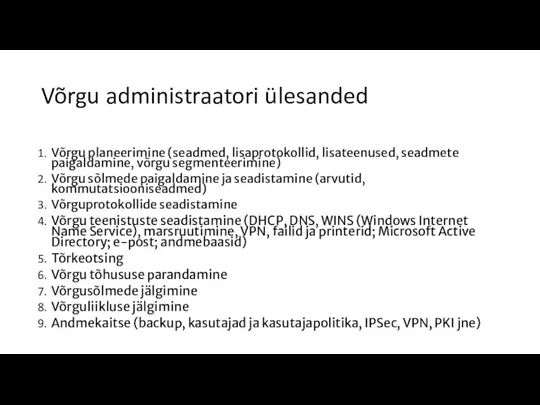
- 4. Võrgu administraatori ülesanded Võrgu planeerimine (seadmed, lisaprotokollid, lisateenused, seadmete paigaldamine, võrgu segmenteerimine) Võrgu sõlmede paigaldamine ja
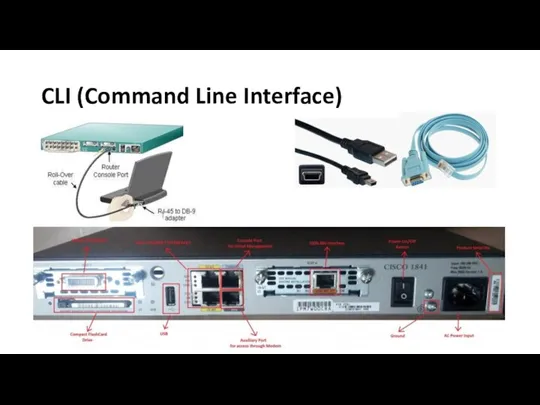
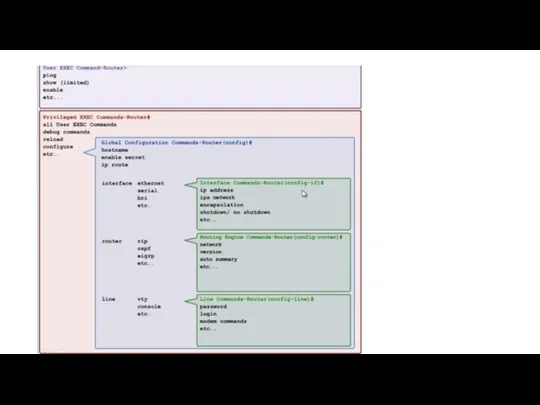
- 5. CLI (Command Line Interface)
- 6. CLI (2)
- 7. CLI (3)
- 8. Enable password
- 9. Terminal PuTTY(putty.org) TeraTerm HyperTerm Secure SRT
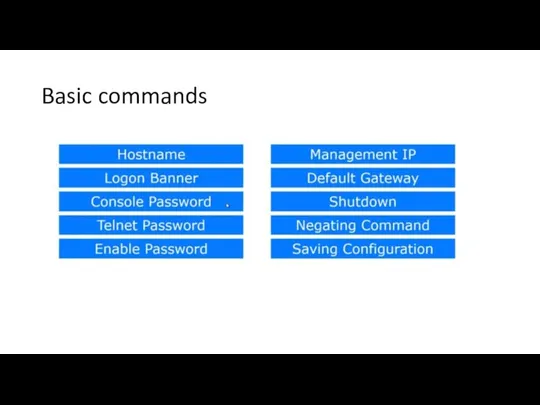
- 11. Basic commands
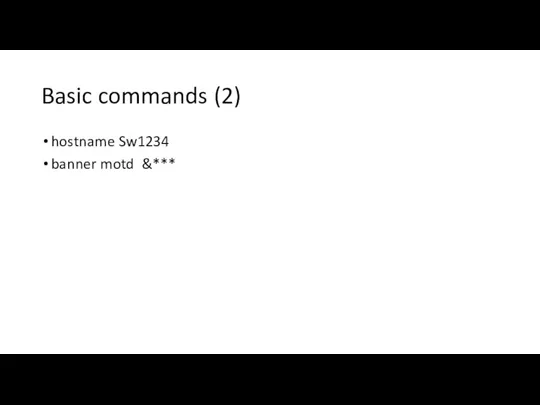
- 12. Basic commands (2) hostname Sw1234 banner motd &***
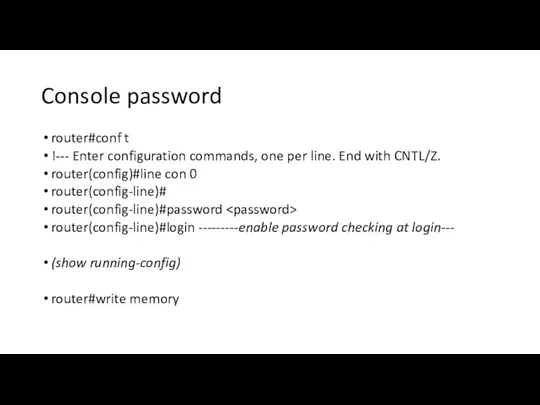
- 13. Console password router#conf t !--- Enter configuration commands, one per line. End with CNTL/Z. router(config)#line con
- 14. Telnet password router#conf t !--- Enter configuration commands, one per line. End with CNTL/Z. router(config)#line vty
- 15. Enable password Router#configure terminal Enter configuration commands, one per line. End with CNTL/Z. Router(config)#enable secret SecretPassword
- 16. More commands no IP-domain lookup show ip interface brief shutdown – no shutdown
- 17. IP-address for switch int vlan 1 ip add 10.1.1.1 255.255.255.0 no shutdown Try to connect using
- 18. CPT Loogiline skeem Füüsiline skeem
- 19. Seadmete hierarhia
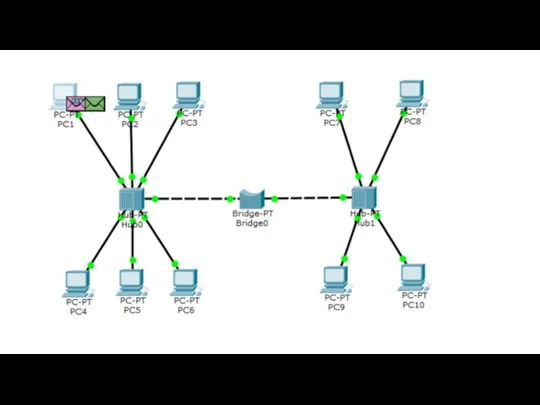
- 21. Hubs and bridges
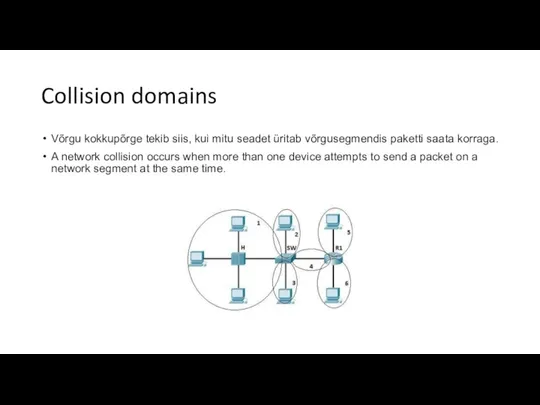
- 24. Collision domains Võrgu kokkupõrge tekib siis, kui mitu seadet üritab võrgusegmendis paketti saata korraga. A network
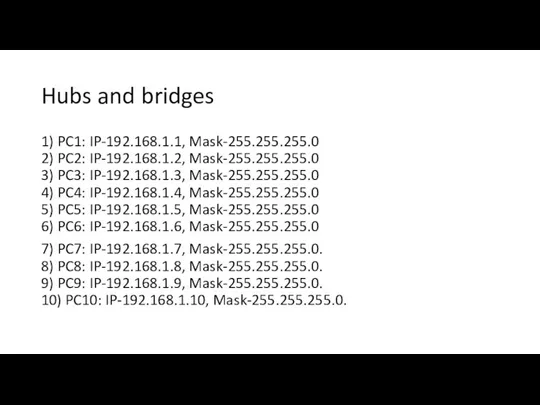
- 26. Hubs and bridges 1) PC1: IP-192.168.1.1, Mask-255.255.255.0 2) PC2: IP-192.168.1.2, Mask-255.255.255.0 3) PC3: IP-192.168.1.3, Mask-255.255.255.0 4)
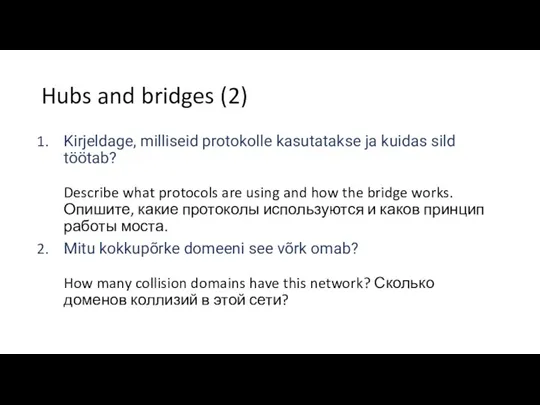
- 27. Hubs and bridges (2) Kirjeldage, milliseid protokolle kasutatakse ja kuidas sild töötab? Describe what protocols are
- 28. Switches
- 30. Switches Bridge – program commutation, switch – hardware commutation (ASIC) Level 2 Level 2+ (3?)
- 31. Switches (2) 1) PC1: IP-192.168.1.1, Mask-255.255.255.0. 2) PC2: IP-192.168.1.2, Mask-255.255.255.0. 3) PC3: IP-192.168.1.3, Mask-255.255.255.0. 4) PC4:
- 32. Switches (3) show mac-address-table
- 33. Switches (3) Kirjeldage, kuidas lüliti täidab MAC-aadressitabelit. Describe how the switch fills the MAC-address table. Опишите,
- 35. Скачать презентацию
Слайд 3Eesmärgid
Turvalisus
Kättesaadavus
Eesmärgid
Turvalisus
Kättesaadavus
Слайд 4Võrgu administraatori ülesanded
Võrgu planeerimine (seadmed, lisaprotokollid, lisateenused, seadmete paigaldamine, võrgu segmenteerimine)
Võrgu sõlmede
Võrgu administraatori ülesanded
Võrgu planeerimine (seadmed, lisaprotokollid, lisateenused, seadmete paigaldamine, võrgu segmenteerimine)
Võrgu sõlmede
Слайд 5CLI (Command Line Interface)
CLI (Command Line Interface)
Слайд 6CLI (2)
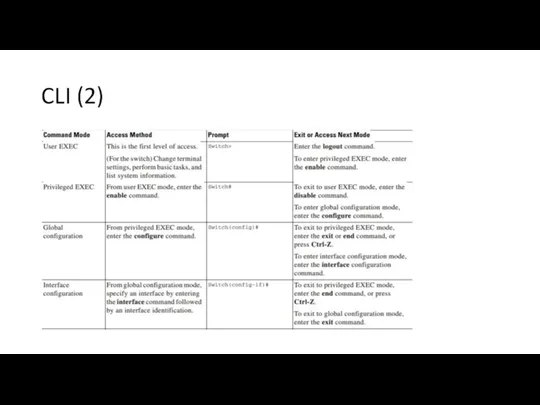
CLI (2)
Слайд 7CLI (3)
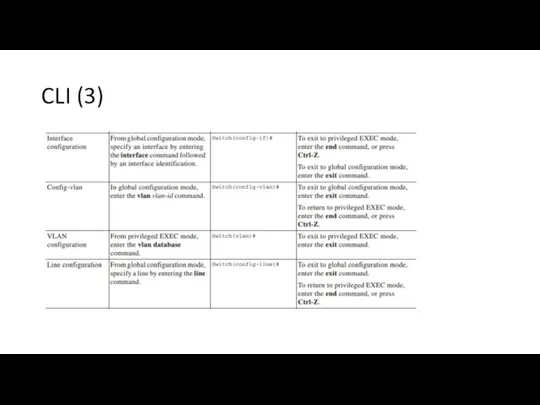
CLI (3)
Слайд 8Enable password
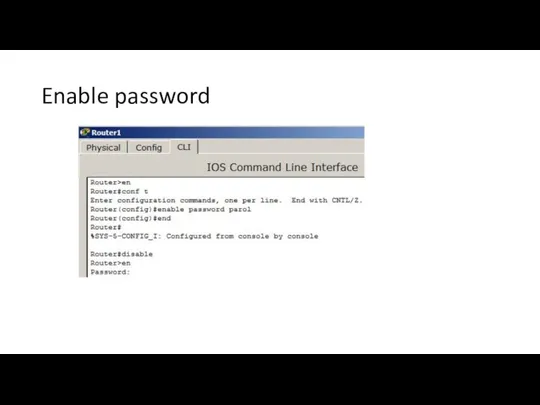
Enable password
Слайд 9Terminal
PuTTY(putty.org)
TeraTerm
HyperTerm
Secure SRT
Terminal
PuTTY(putty.org)
TeraTerm
HyperTerm
Secure SRT
Слайд 11Basic commands
Basic commands
Слайд 12Basic commands (2)
hostname Sw1234
banner motd &***
Basic commands (2)
hostname Sw1234
banner motd &***
Слайд 13Console password
router#conf t
!--- Enter configuration commands, one per line. End with CNTL/Z.
router(config)#line
Console password
router#conf t
!--- Enter configuration commands, one per line. End with CNTL/Z.
router(config)#line
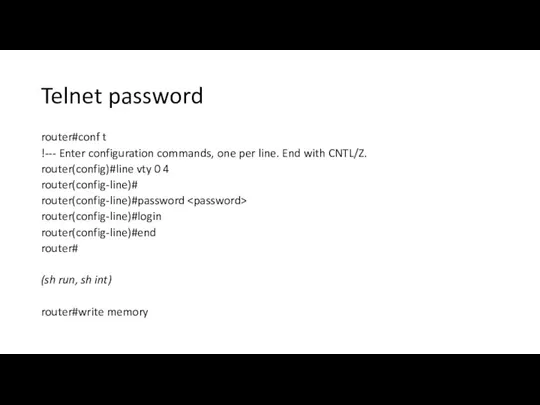
Слайд 14Telnet password
router#conf t
!--- Enter configuration commands, one per line. End with CNTL/Z.
router(config)#line
Telnet password
router#conf t
!--- Enter configuration commands, one per line. End with CNTL/Z.
router(config)#line
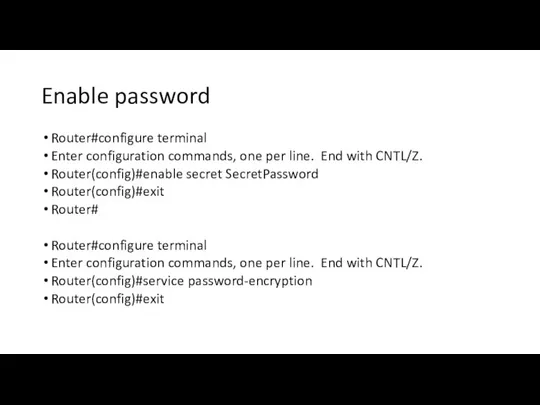
Слайд 15Enable password
Router#configure terminal
Enter configuration commands, one per line. End with CNTL/Z.
Router(config)#enable secret
Enable password
Router#configure terminal
Enter configuration commands, one per line. End with CNTL/Z.
Router(config)#enable secret
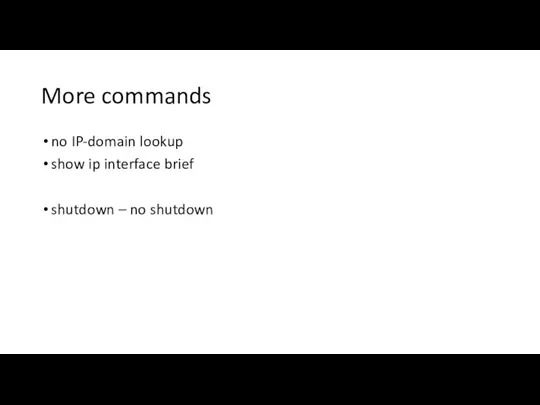
Слайд 16More commands
no IP-domain lookup
show ip interface brief
shutdown – no shutdown
More commands
no IP-domain lookup
show ip interface brief
shutdown – no shutdown
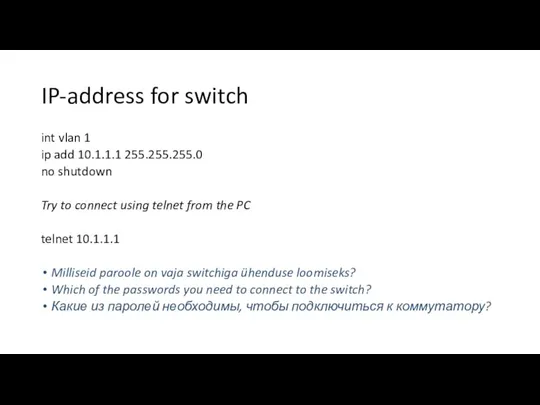
Слайд 17IP-address for switch
int vlan 1
ip add 10.1.1.1 255.255.255.0
no shutdown
Try to connect using
IP-address for switch
int vlan 1
ip add 10.1.1.1 255.255.255.0
no shutdown
Try to connect using
Слайд 18CPT
Loogiline skeem
Füüsiline skeem
CPT
Loogiline skeem
Füüsiline skeem

Слайд 19Seadmete hierarhia
Seadmete hierarhia

Слайд 21Hubs and bridges
Hubs and bridges
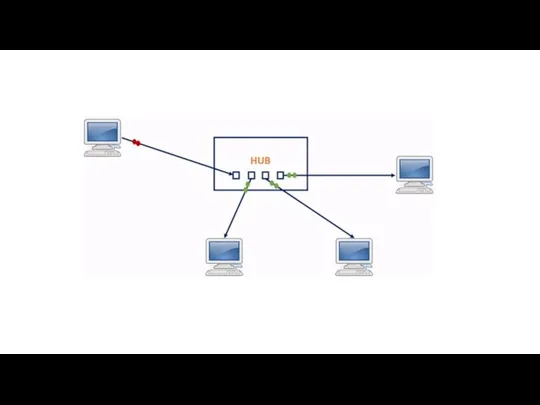
Слайд 24Collision domains
Võrgu kokkupõrge tekib siis, kui mitu seadet üritab võrgusegmendis paketti saata
Collision domains
Võrgu kokkupõrge tekib siis, kui mitu seadet üritab võrgusegmendis paketti saata
Слайд 26Hubs and bridges
1) PC1: IP-192.168.1.1, Mask-255.255.255.0
2) PC2: IP-192.168.1.2, Mask-255.255.255.0
3) PC3: IP-192.168.1.3, Mask-255.255.255.0
4)
Hubs and bridges
1) PC1: IP-192.168.1.1, Mask-255.255.255.0 2) PC2: IP-192.168.1.2, Mask-255.255.255.0 3) PC3: IP-192.168.1.3, Mask-255.255.255.0 4)
Слайд 27Hubs and bridges (2)
Kirjeldage, milliseid protokolle kasutatakse ja kuidas sild töötab?
Describe
Hubs and bridges (2)
Kirjeldage, milliseid protokolle kasutatakse ja kuidas sild töötab? Describe
Слайд 28Switches
Switches

Слайд 30Switches
Bridge – program commutation, switch – hardware commutation (ASIC)
Level 2
Level 2+ (3?)
Switches
Bridge – program commutation, switch – hardware commutation (ASIC)
Level 2
Level 2+ (3?)

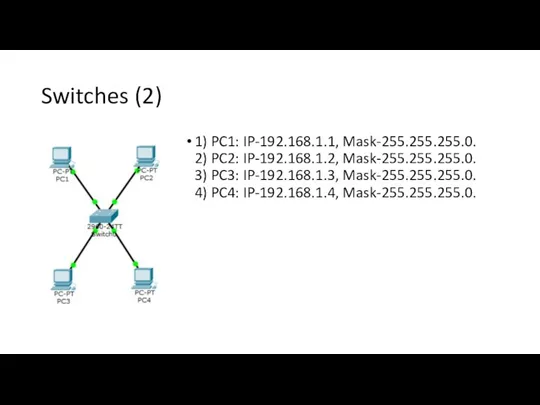
Слайд 31Switches (2)
1) PC1: IP-192.168.1.1, Mask-255.255.255.0.
2) PC2: IP-192.168.1.2, Mask-255.255.255.0.
3) PC3: IP-192.168.1.3, Mask-255.255.255.0.
4) PC4:
Switches (2)
1) PC1: IP-192.168.1.1, Mask-255.255.255.0. 2) PC2: IP-192.168.1.2, Mask-255.255.255.0. 3) PC3: IP-192.168.1.3, Mask-255.255.255.0. 4) PC4:
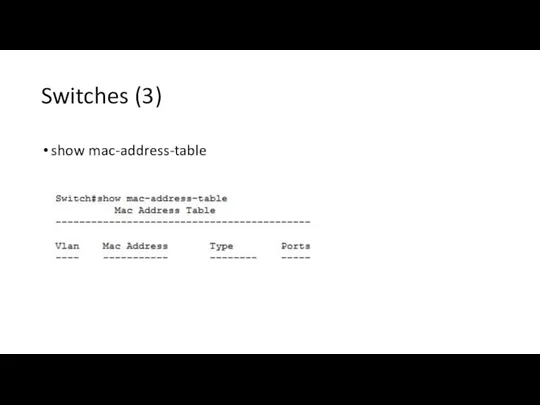
Слайд 32Switches (3)
show mac-address-table
Switches (3)
show mac-address-table
Слайд 33Switches (3)
Kirjeldage, kuidas lüliti täidab MAC-aadressitabelit.
Describe how the switch fills the
Switches (3)
Kirjeldage, kuidas lüliti täidab MAC-aadressitabelit.
Describe how the switch fills the
 Разработка программ обработки одномерных массивов
 Файлы и файловые структуры
 SMM-продвижение вашего бизнеса в социальных медиа
 Системы счисления
 Проект Бабушка особого назначения
 Пройди тест
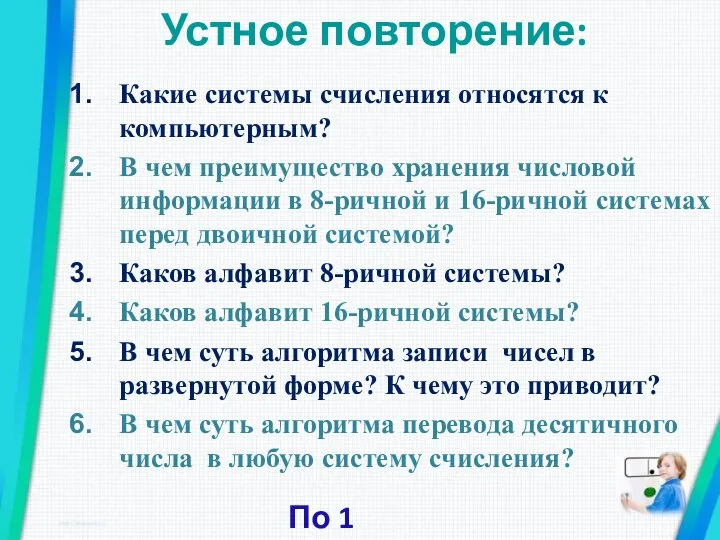 Представление целых и вещественных чисел в памяти ПК
 Система регистрации и аутентификации игрового сервиса
 Размещения, сочетания и перестановки. Практическое занятие
 Компьютерная графика
 Пакет подготовки презентаций
 Журналистика Web 2.0 в КНР. Мировые тенденции и национальные особенности
 Основы программирования на языке Python
 Создание презентации. Правила и инструменты
 Возможности динамических (электронных) таблиц
 Мероприятие Lvl-Up
 Система дистанционного обучения Мoodle. Возможности администрирования
 Алгоритмическая конструкция повторение
 Как подготовить страницу бизнеса к продвижению
 Generation of the 21st century
 Этапы параллельного программирования. Лекция 6
 Linux. Команда cd
 Система автоматизированного проектирования ландшафтного дизайна в 3Ds Max
 Архитектура аппаратных средств
 Разбор задач ЕГЭ. Перебор слов и системы счисления. В4
 Описание разработки. Алгоритм. Блок-схема
 Пять наиболее распространенных заблуждений в отношении Linux
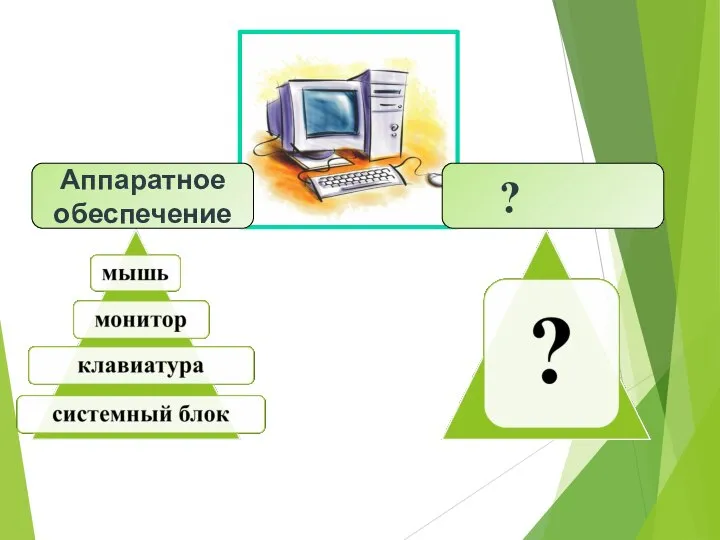 Программное oбеспечение